Pages

Thursday, June 30, 2011

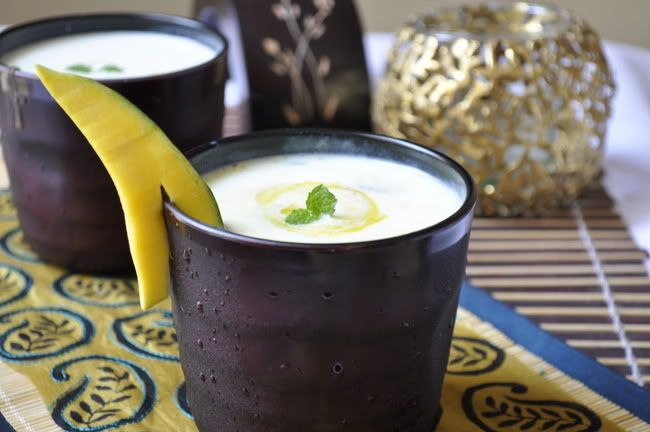
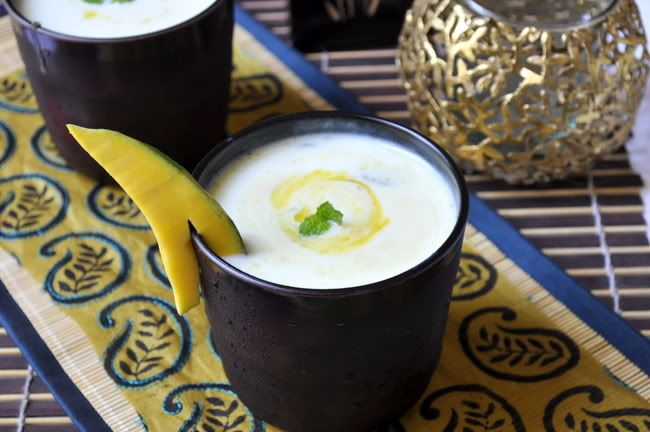
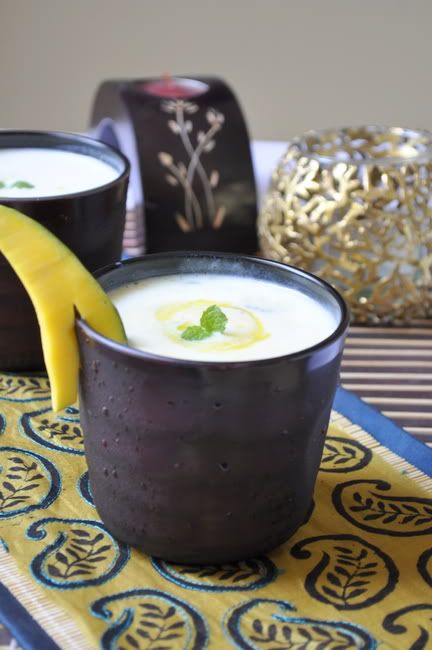
Mango Fool

Photobucket


Photobucket


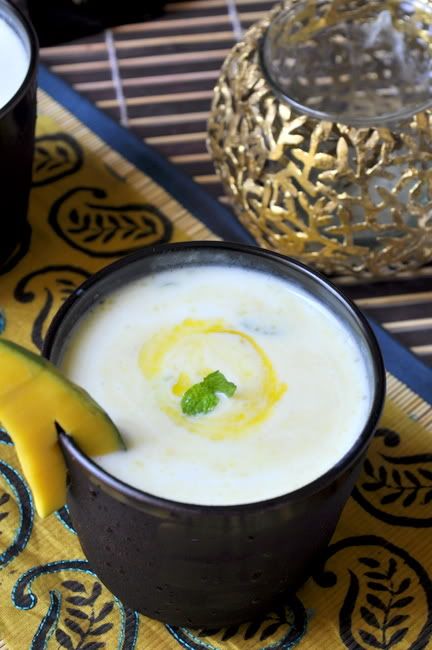
A try at 'Mango Fool'...that didn't fool me at all. ;)...I had to start with that sad joke. But really, the name Mango Fool has fascinated me since a while. Rj n me...we are both huge fans of Mangoes. Ok, he is a huge fan of ripe mangoes n' I on the other hand, love mangoes in any form. I look forward to summers in India, just for the abundant supply of Mangoes everywhere(i ain't exaggerating!).

Photobucket


I have 3 mango posts with me n' I told myself, for the love of Mangoes, I better stop being lazy and do the Mango blog posts soon. So here you go, Mango Fool is my first post.
Photobucket


Ingredients:

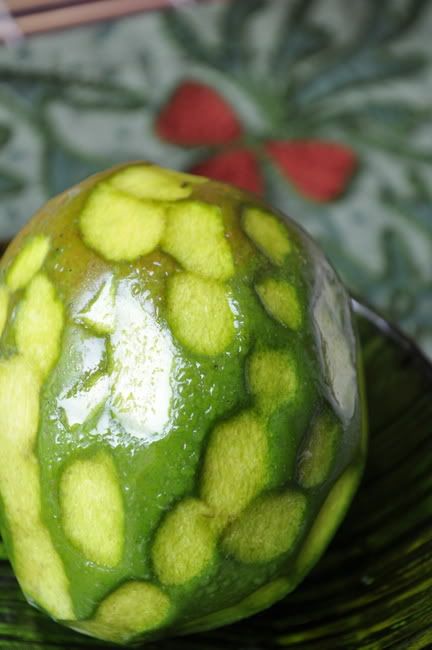
1. Mango puree (Fresh n Raw) : 1cup *
2. Yogurt - 2 cups (preferably thick or thickened)
3. Sugar : 3-4tbsp
4. Mint leaves - few
5. Lemon juice: 1tbsp
6. Salt: to taste

* I used some mangoes which were between the stages of raw n' ripe. I used really sour mangoes, so had to adjust the ingredients a little in the end. So please taste as you go n' make adjustments while making the drink depending on the mangoes you use.

Method:

Step 1: For the Mango Puree. Peel and slice the Mangoes. Boil them in a little warm water till soft. Pass through a sieve and allow it to cool. (while slicing the flesh off the stone, don’t go too close to the stone, as this part is very fibrous and won't be nice in this drink.)

Step 2: Beat the yogurt till smooth. Add sugar and salt to this. Crush some mint leaves n' add it to the yogurt.

Step 3: Add the lemon juice to the Mango puree and mix well.

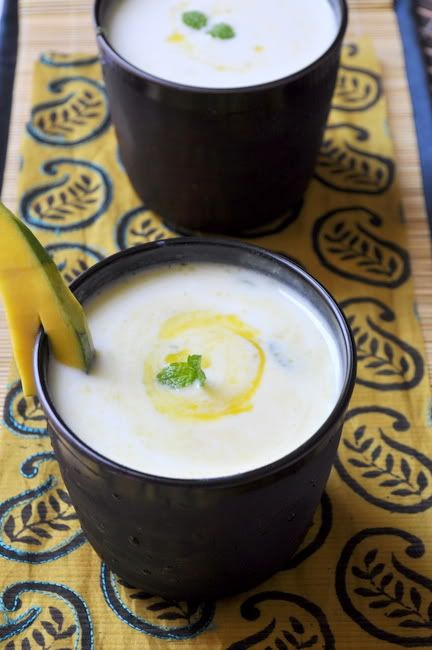
Step 4: Mix the mango puree and yogurt to get a thick mixture. Chill it before serving. Garnish it with a few mint leaves and its ready.

Reduce the amount of sugar and add more salt, if you love sourness in drinks as much as I do. This is perfect for a hot day. :)
Photobucket


Photobucket


Tuesday, June 28, 2011

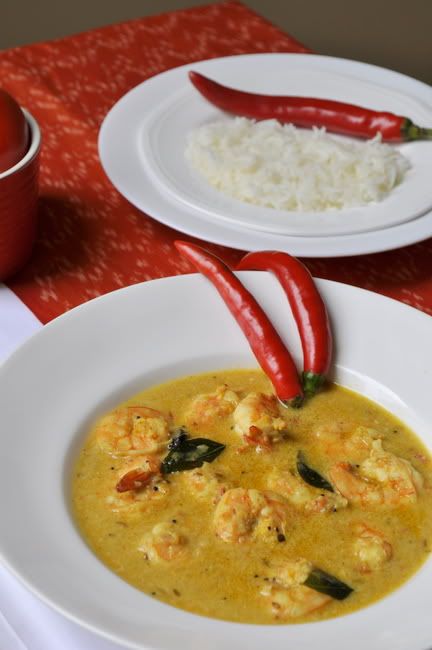
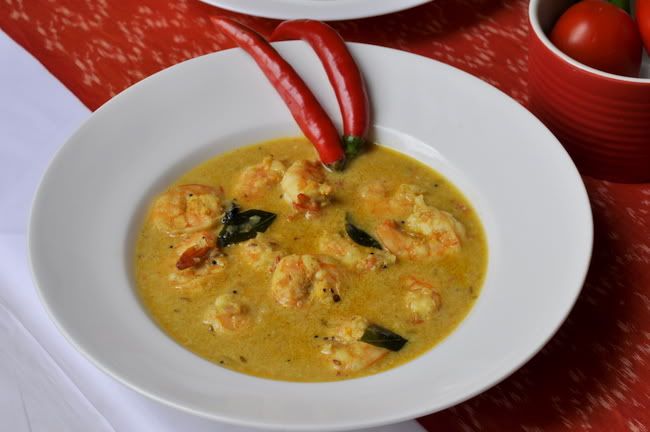
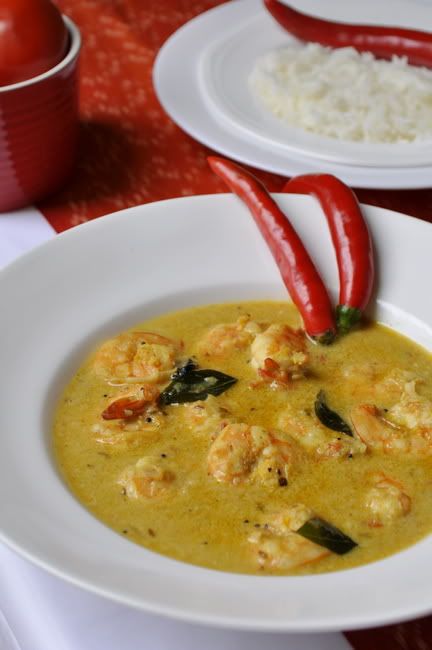
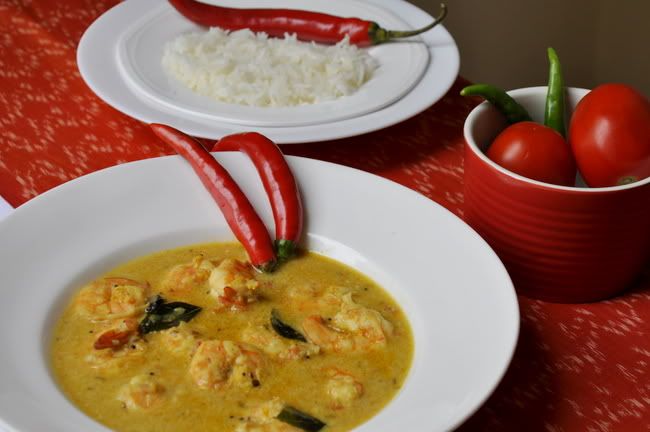
Prawns/ Shrimps In Coconut Milk


Photobucket


Photobucket

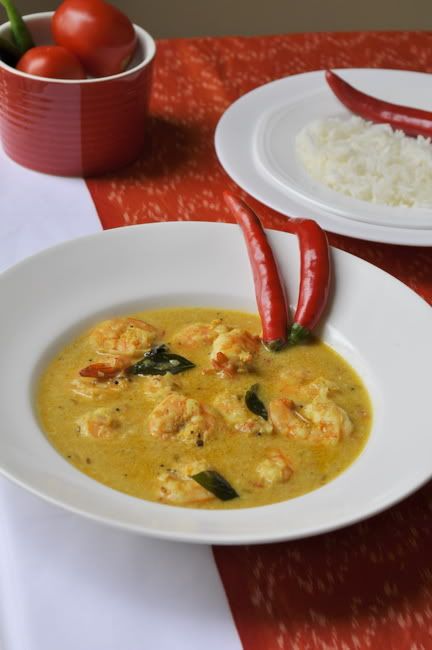
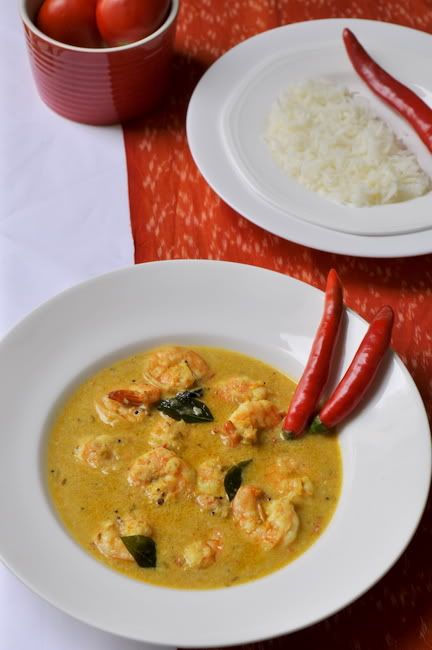
You know how you find this truly amazing recipe, which gives you great results every time, wows the people you serve it to n' all that. That was what was happening with my tried n' tested Prawns Ularthiyathu recipe passed on from my mom. Every time we buy prawns, Rj wants me to make that. In March, when my father in law had come to stay with us, I had made it for him n' he loved it. He told everyone possible how good it was. I think, I will never be able to make that dish without fondly remembering how much he appreciated my efforts.

Photobucket

But I thought to myself, its high time I found another awesome recipe. I came across this continental recipe for Shrimps in Coconut Milk n' made a note that I should try it soon. Haven't had shrimps/prawns since more than 2months n' I was looking forward to this recipe. Meanwhile, I happened to come across Satrupa's Blog- Food For Thought....(yeah even I couldn't believe I'm seeing her blog only now...:( ). If you haven't visited her blog, please do so now!! Check out one of her recent post here. After taking a look at that, there was no way I could think of doing the continental less spicy version of Shrimps in Coconut Milk. ;) Here is a good link to read about the simple differences between Prawns n' Shrimps.

Photobucket

Another thing that attracted me to this recipe was how the measurements mentioned were perfect for two. This way, I didn't have to ransack my brain n' convert the measurements to suit us. Initially, I'd decided to stick to her recipe without changing a thing, but as I started cooking, I had to tweak it a little bit. I'm always surprised how 2 people following a recipe could come up with different tastes n' even look sometimes. I'm talking about dishes like that perfect chicken curry or biryani my mom makes, which just doesn't taste as good as her's does, when me n' my sister tries the same recipe...lol. Like I mentioned earlier, I have a lot of older posts to do, but this curry turned out to be a winner n' so did the snaps. So I just couldn't resist doing this post today. So here you go....

Photobucket

Ingredients:

1. Shrimps/ Prawns - 12nos (medium size)
2. Onion - 1/2 (medium size)
3. Garlic Cloves - 4nos
4. Ginger - 1/2 inch
5. Cinnamon Stick - 1 inch piece
6. Cumin - 1/2 tsp
7. Coriander Powder - 1/2 tsp
8. Chili Powder: 1/2 tsp
9. Turmeric Powder: 1/2 tsp
10. Tomato puree - 1-2 tsp (depending on how sour you like it)
11. Mustard Seeds
12. Fresh Green Chilies: 2-3 (per taste)*
13. Curry Leaves - few
14. Coconut Milk - 1 cup
15. Kodampuli/ Cambodge: 1-2 (soaked in water)
16. Salt per taste
17. Oil

Method:

Step 1: Grind Onion, Ginger,Garlic,Cumin seeds,Coriander powder,Chili powder, Turmeric powder, Green chilies and Cinnamon to make a smooth paste. (add a little water or oil to help grind it well)

Step 2: Marinate the Shrimps/ Prawns with little turmeric and salt and keep aside for 10 minutes.

Step 3: Avoid this step if you are using store bought tomato puree. I didn't have any with me, so I chopped half a medium sized tomato n' boiled it with a little water. Once that is done, mash the same to form a thick paste/puree.

Step 4: Heat oil in a wok and fry the Shrimps/ Prawns just for few minutes so that they turn opaque. Taking care not to over fry them or they would turn rubbery.

Step 5: In the same wok, add more oil if required. Allow it to heat and hot temper it with mustard seeds and curry leaves.

Step 6: Add the ground masala and salt and fry till the masala is cooked well and there is no raw smell. Add tomato paste/ puree into the above.

Step 7: Add the coconut milk and allow it to simmer. Add the kodumpuli with water into this.

Step 8: Add some water if needed to adjust the consistency. Add the fried shrimps/prawns and simmer for 2 minutes before turning off the heat.


Photobucket

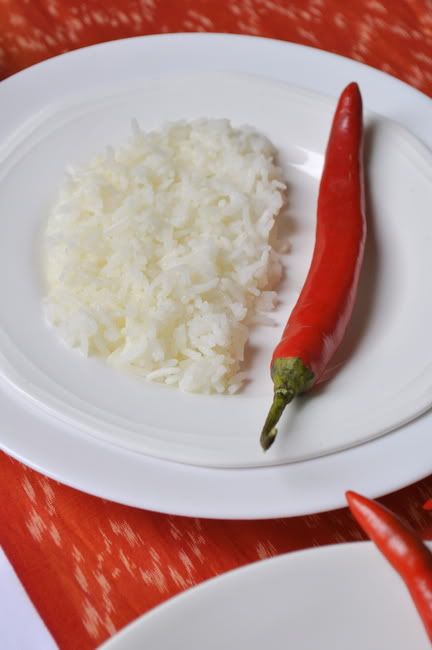
Serve it with some hot rice and it tastes divine. The reason why I changed Satrupa's recipe a little was coz I just wasn't able to get the color right. I think it could be coz of the good quality tomato paste available there or something. But anyways the taste was spot on. :) Happy Cooking!!!

Photobucket

Sunday, June 26, 2011

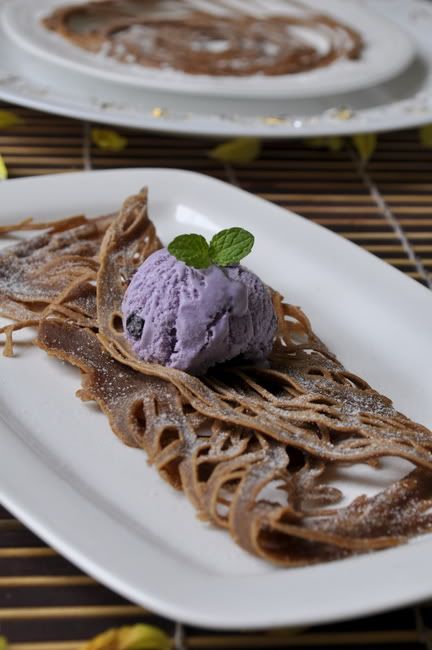
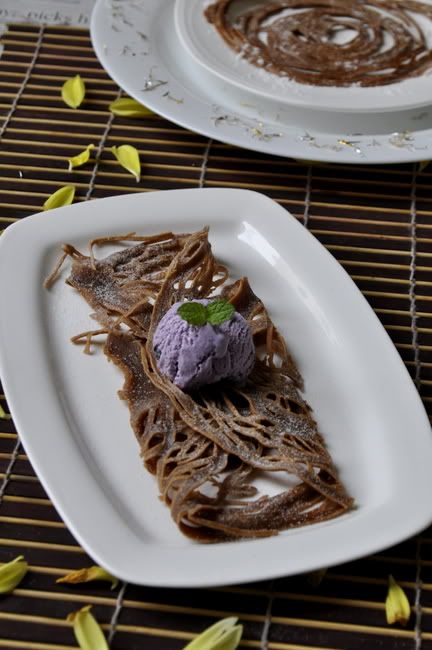
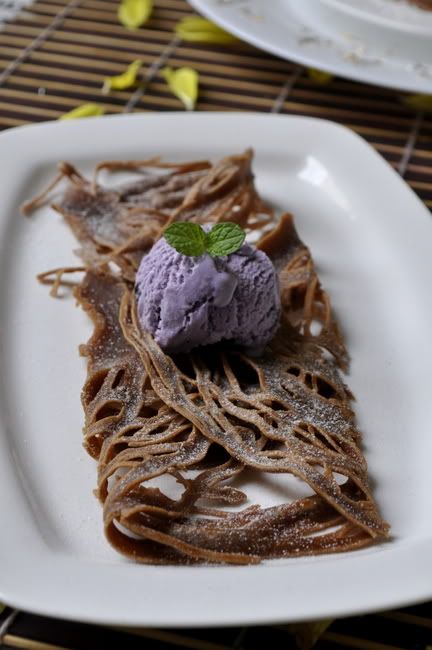
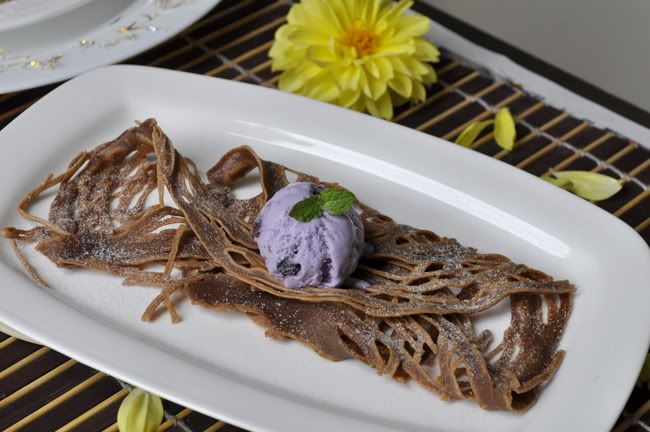
Cadbury Dairy Milk Chocolate Lace Crêpes


Photobucket


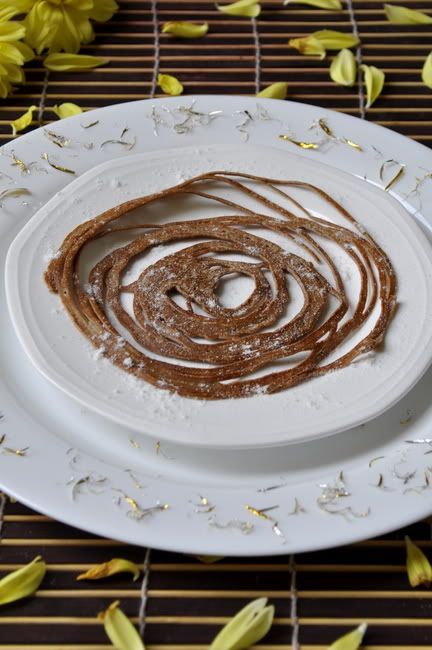
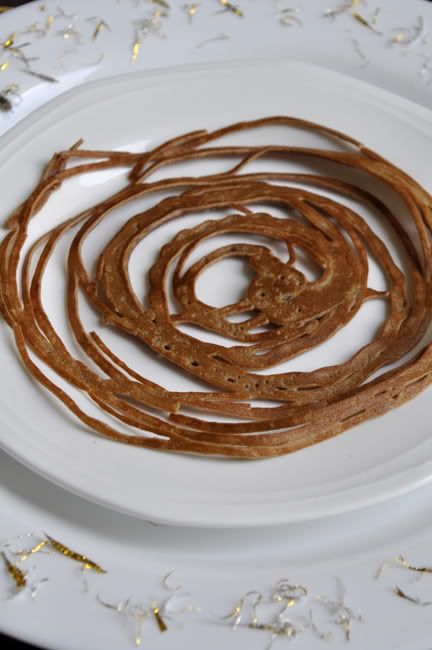
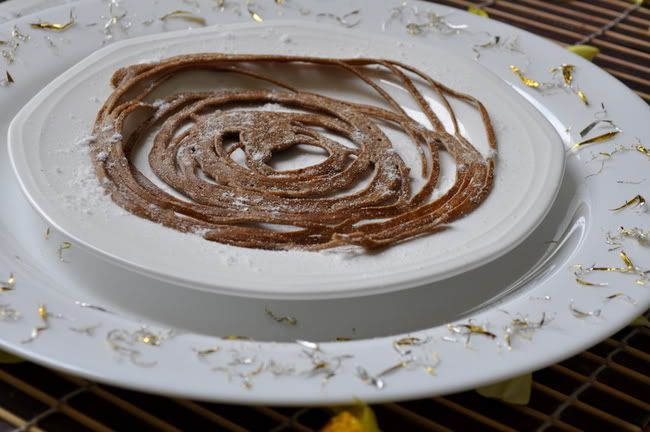
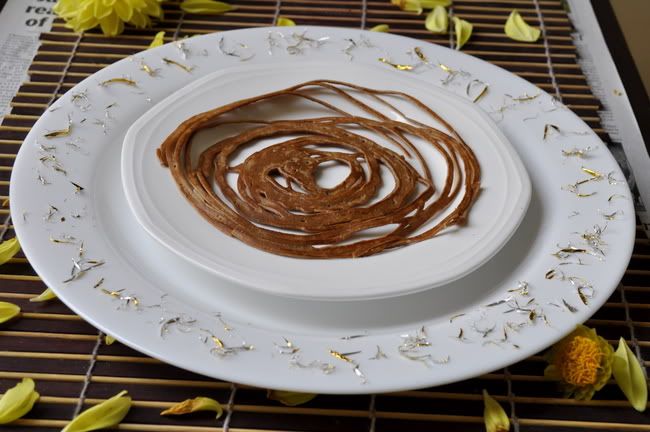
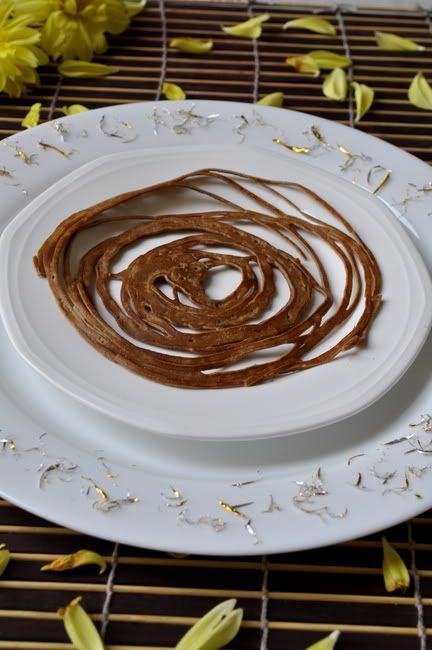
I love crêpes, especially savory ones. I used to frequent the Crêpe Cafe in Bahrain. My favourite was their Florentine Crêpe, with a filling of spinach, feta, mushrooms, bechamel sauce and cheese. It was so so yummy. I miss not being able to dig in to something that good. Anyways, you know how infrequent my sweet posts are, so I decided to try n' make a sweet crêpe instead of a savory one. And NO surprise surprise, it turned out really well. ;)

Photobucket


I have tasted a lot of chocolates, both here n' while travelling abroad. But my sense of loyalty towards Cadbury's Dairy Milk has remained unwavered. :)....Infact a while ago, I even asked my friends on FB to tell me how to eat Cadbury's Silk the way they show it in the ads. :)...comments poured in with their gooey Silk experiences. If you haven't eaten Cadbury's Silk Chocolate the way they show in the ads, then you must do so asap! (to make it gooey, just pop the chocolate bar in the microwave for 5-10sec n' then have it) Really worth it...;)

Photobucket


I came across a chocolate lace crêpe recipe on Joumana's blog, Taste of Beirut a while ago. Fell in love, bookmarked it n' promptly kept it for later.:) A special thank you to Joumana for sharing such a lovely recipe...Rj recently gave me some Cadbury's Dairy Milk, I wanted to try something with it than eat it just as it is. I have often heard how one cannot use Dairy Milk for baking (no matter how much you love its taste) and that one needs to use cooking chocolate. But since this recipe involved no baking, I decided to use Dairy Milk. :) It tastes great. Other than this I have followed her recipe. So here you go....

Photobucket


Photobucket


Ingredients:

1. Dairy Milk Chocolate: 50gms (use any chocolate you like)
2. Eggs: 2nos (large)
3. All-purpose flour: 175 gms or 1 and 1/2 cup
4. Salt: as per taste
5. Powdered Sugar: 125 gms or 1/2 cup
6. Melted Butter: 3 tbsps or 45 gms
7. Milk: 250 ml or 2 cups
8. Vanilla Essence: 1 tsp
9. Cocoa Powder: 1/2 tbsp

Method:

Step 1: Beat the eggs in a bowl.

Step 2: Mix the flour, cocoa, salt and powdered sugar in another bowl. Transfer to the eggs and mix the two with a spoon.

Step 3: Melt the chocolate with the butter in the microwave and add to the batter

Step 4: Add the milk and vanilla gradually, stirring constantly until the batter is smooth and has no lumps. Set aside for thirty minutes.

Step 5: Heat the skillet and brush it with a little butter or oil so that it has a film of grease on the surface, no more. Pour the batter in the bottle or a decorating bag with a very small tip and pour the batter onto the skillet making circles, loops and other designs.

Step 6: When the crêpe appears cooked (two or three minutes should suffice on medium-high heat), slide it into a platter or on a piece of wax paper, to cool a bit.

Photobucket


Photobucket


Serve with some powdered sugar. I think this is a great dessert to be served with some ice cream or fresh fruits. The only thing is, I thought it tastes best when served hot n' slightly crispy. So serve it as you make it....(if that is possible). Happy Cooking!!!

Photobucket


Photobucket


Saturday, June 25, 2011

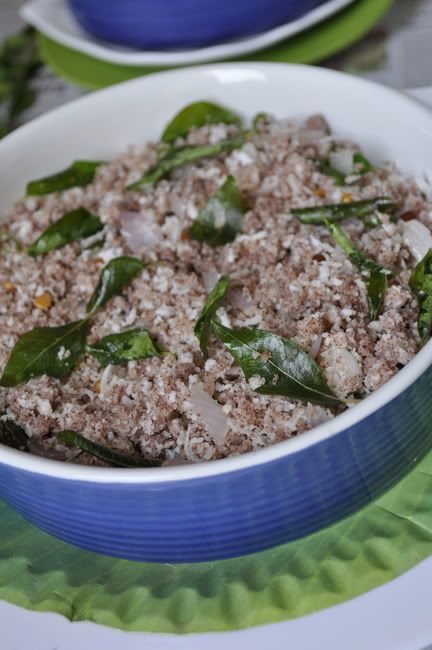
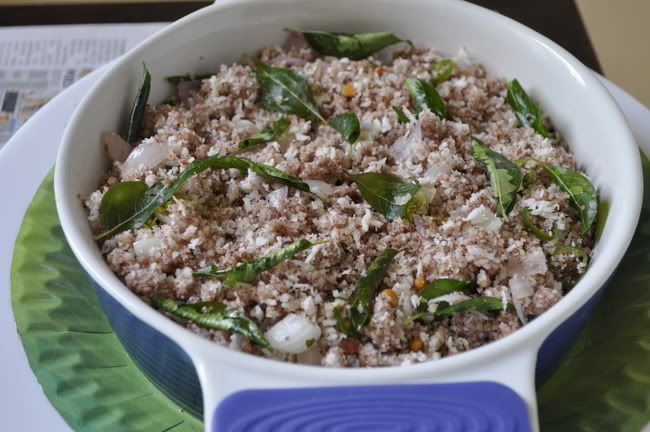
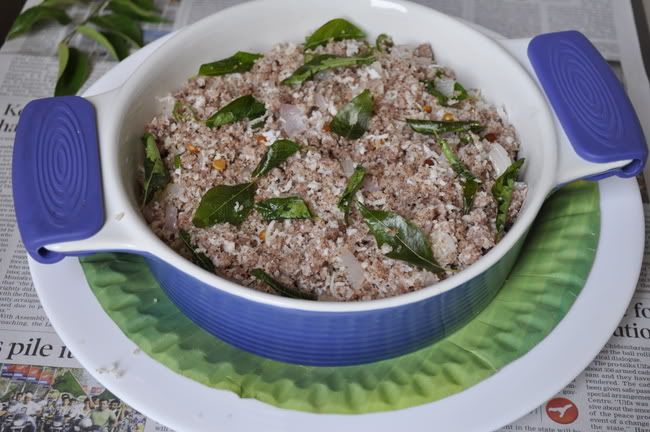
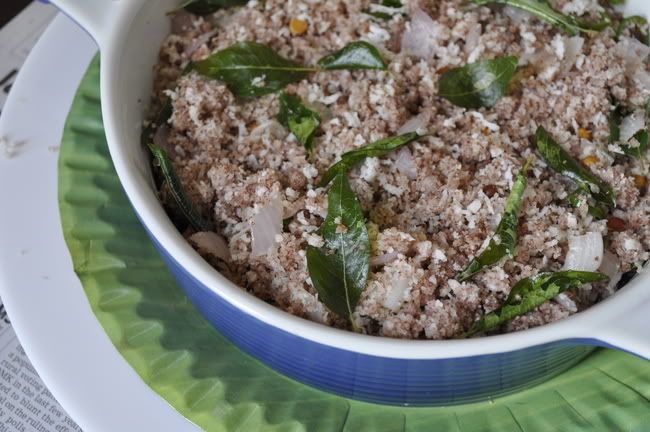
Ragi Puttu Upma

I wanted to do this blog post yesterday....but between catching up with friends n facebook n' gtalk n' all that...I didn't get the time to....:(...so I might as well do 2 posts today....


Photobucket


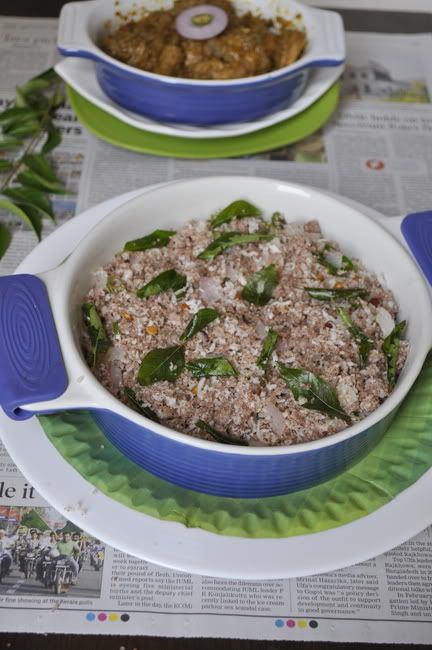
Most mallu families would've made Puttu Upma with leftover puttu as a tea time meal....my mom's taste divine coz she adds left over beef ularthiyathu into it as well n that takes the whole thing a notch higher in my books. I have made this upma without adding Beef and it still tastes nice. I wasn't a big fan of a beef less upma until my aunt, Sandhyachechi, came n' stayed with me. She made this upma with the leftover Puttu from breakfast n' I really loved it...Now I don't wait to have leftover puttu for this anymore. I make puttu just for this upma.


Photobucket


Talking of Upma did you read/hear about New York's celebrated chef, Mumbai-born Floyd Cardoz who made Upma for a contest in NY and won a big ticket prize of $ 100,000 (that roughly around Rs 45 lakhs). The theme? "prepare an item based on food memories. " Imagine that....the simple n' one of the most common south indian dish winning his such a big ticket! I shouldn't make it sound too simple, he did prepare a very exotic version of our common upma with wild mushrooms n' I think Chicken...(not sure about the chicken part). Anyway, apparently after all this hoopla in NY over exotic Upma, restaurants all over the capital here, have been getting orders for extoic upma (more than ever before) from tourists. I'm reading this article in the Hindustan Times, sitting on Rajdhani Express with the worst upma I have ever tasted for breakfast...:(...sad or what????


Photobucket


My upma here is 'oh so simple', but tastes really good. For an added health factor I have started including ragi in our food whenever the recipe permits it. For benefits of Ragi...please check out this page at itsnotmadrasi. You get Ragi Puttu podi/powder in all the stores now. Brands like Eastern, Double Horse, Nirapara etc. So do try them out if you haven't done so already. I'm mentioning a simple way to make puttu too...just for those who haven't had it. So here you go...


Photobucket


Ingredients:

For Puttu
1. Ragi Puttu Podi/Powder: 2 cups
2. Grated Coconut: ½ coconut (at least) more if you like it like me...:)
3. Salt: to taste
4. Water: enough to crumble the mixture. (don't add too much water or you will be left with a dough instead of a crumble.)

For Puttu Upma:
1. Ragi Puttu: 2cups (roughly)
2. Mustard seeds: ¾ tsp
3. Black gram: ¼ tsp (if you don't have this, use the regular tur dal n its still taste great)
4. Onion: ½ cup (chopped)
5. Green chillies: 2 (chopped) or less if you don't like it spicy
6. Ginger: 1 tsp (finely chopped)
7. Curry leaves: 1-2 sprigs
8. Salt (Optional) (as puttu already has salt)
9. Ghee/Clarified butter: 1 tsp

Method:

For the Puttu
I did not use a puttu maker for this, I used the steamer plate/thattu (Dhokla maker plates) in the idli maker instead, coz I was anyways planning to make the upma with the puttu instead of puttu itself. Since I don't do pictorial step by step, please check out this blog for a good way of making traditional Puttu. For the non traditional one, follow my steps here.

Step 1: Add salt n' water to the puttu powder to get the crumble required. Powder the mixture with your hands to form a coarse n soft crumble.

Step 2: Add scraped coconut to the above. I add a generous amount, coz i love the taste.

Step 3: Heat water in the idli maker, once the water boils, place the steamer plate above the water n' fill it with the above mixture. Steam it until cooked well. (roughly 5-10mins or less) The puttu is ready.

For the Upma

Step 1: In a kadai/ wok, add the ghee and do the tadka with mustard seeds, Dal n' add the curry leaves.

Step 2: Add the chopped ginger, fry it a little, add the chopped onion n' green chilies to this. Fry it well.

Step 3: Add the cooked puttu mix into this n' stir well. Adjust the salt if required. Sprinkle in a little water, if you think the puttu is not soft enough. And viola! its ready....


Photobucket


Serve it with some Kaddala Curry/ Chole or even a spicy meat curry (I served it with my Chicken Chettinad) and it needn't be something you serve only at tea time. Make it a meal. :) Happy Cooking!!!

Thursday, June 23, 2011

Bread Pakodas/ Bread Pakoras and my first Skirt...;)

Thank you so much for leaving me condolence messages on my previous post. I'm back in Bangalore now and decided to do a blog post today.

Having had loads of free time on my hands....I have been thinking a lot....what constitutes a good food blog? new recipes? a lot of recipes? good photographs? a lot of followers? giveaways? loads of comments on the blog posts? what does? My blog doesn't feature a lot of what I have mentioned above....but then I realised it doesn't matter.....as long as we find absolute pleasure in doing a blog post, we should keep doing it. At the end of the day blogging needn't be something to prove your worth, you should have something nice to say, definitely, but its so important to enjoy the experience. Armed with such great words of wisdom, I'm gonna start doing my blog posts again. :)

Photobucket


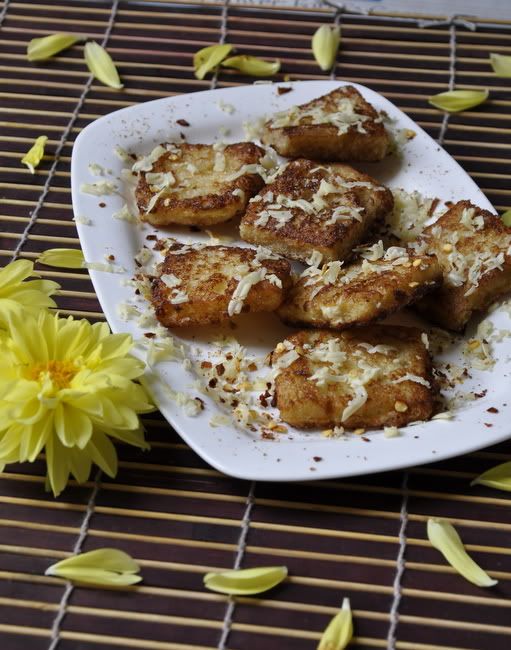
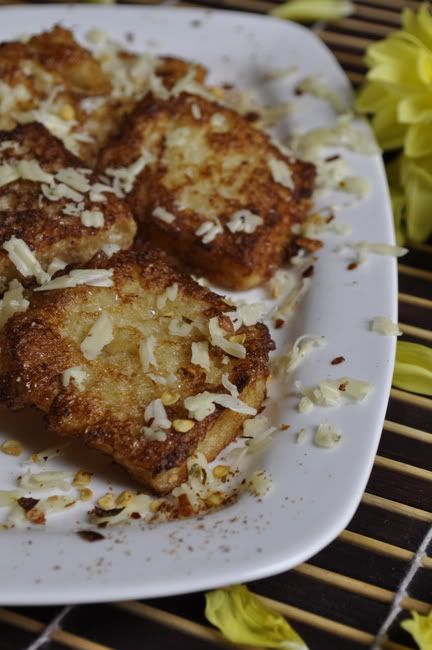
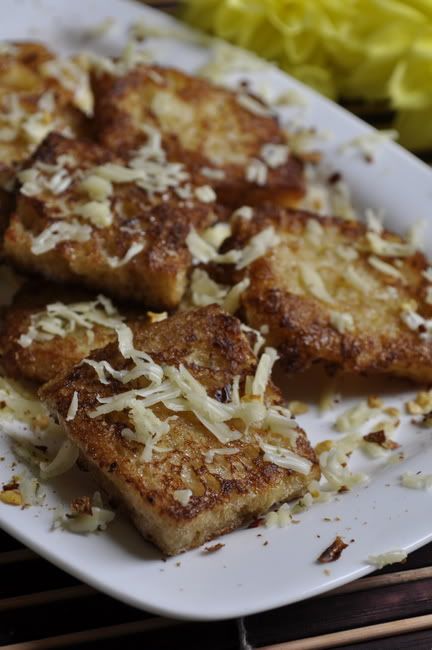
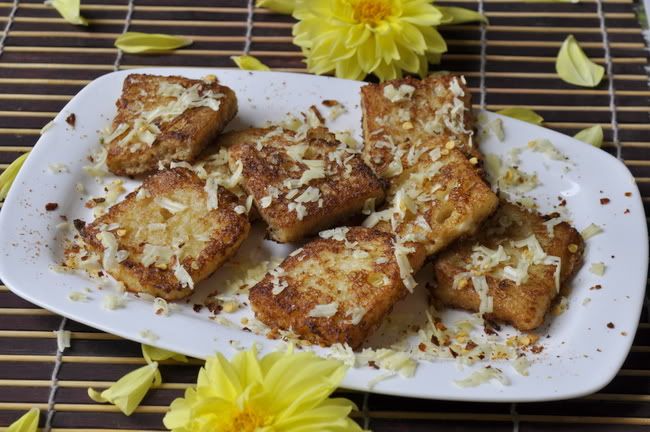
I'm not a big fan of bread in general. But come rain n' I can never refuse some good hot bread pakodas. The best part about them though, is the fact that they are so easy to make and most people are guaranteed to enjoy them. It so happened, a cousin of mine dropped in with her family one evening n' I, as always, had nothing to serve them n' these pakodas came to my rescue. So here you go...enjoy this simple snack...:)

Photobucket


Ingredients:

1. Brown Bread: 3 slices (cut them into whatever shape you like)
2. Eggs: 2-3nos
3. Salt: as per taste
4. Chili Flakes: as per taste
5. Cheese: grate it as required (I have used Britannia's Sour Cream n' Onion Cheese cubes)
6. Vegetable Oil: as required (I do shallow fry so use very little oil for this)

Method:

Step 1: Slice/cut the bread pieces into the shape that you want.

Step 2: Whisk the eggs and add salt to it.

Step 3: Heat the oil in a pan n' dip the bread pieces in the whisked eggs n' fry them.

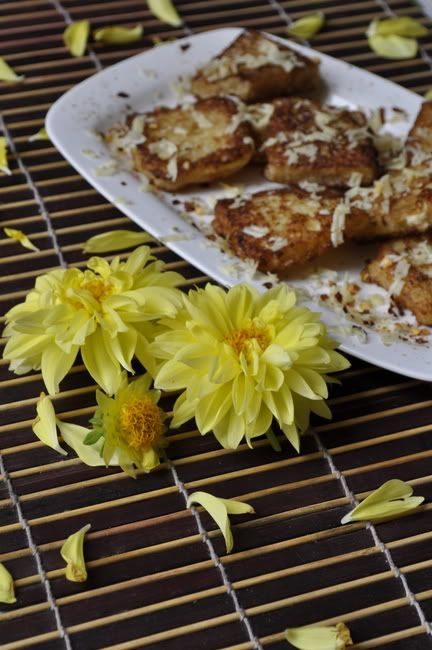
Step 4: Once fried, serve them on a plate n' sprinkle it with some chili flakes n' grate some cheese on top n' its ready.

Photobucket


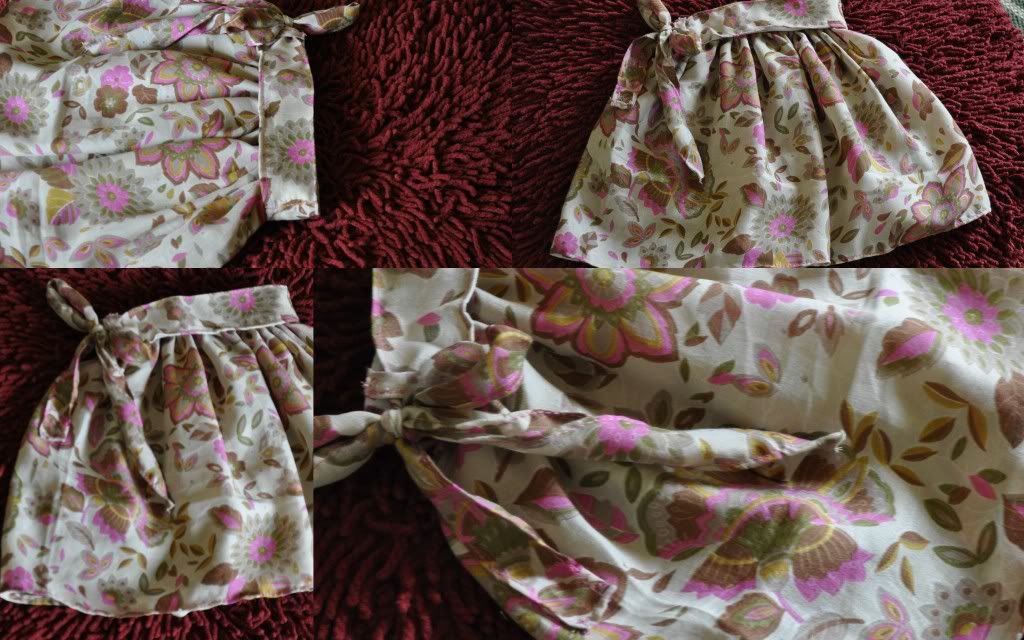
Being away from my laptop n' camera, I have been able to do a lot of things I had kept for later, like learning to stitch. My mom n' chechi stitch really well but I never sorta had an itch for stitching. But this time when amma came n' stayed with me, she bought me a sewing machine n' so I better start putting it to good use. I stitched 3dresses for my 2 n half yr old niece as she is starting play school soon. I don't have pics of those with me, chechi said she will send them to me soon, but attached is a pic of a skirt I stitched while in Bhopal. For a first time effort, I'm really proud of it. :)

Photobucket


I also found time to scout for some good recipes. I have been meaning to explore more, but haven't been able to manage the time to. Rj having been on his own for a while now, has been eating out every day, he can't cook a thing to survive. So all that 'healthy home made food is better' mantra, I kept telling him is down the drain. Now I really have to impress him with some healthy home cooking which tastes great. lol...Actually, I have a lot of posts to do of the dishes I had made before I went off, so I will quickly post those first.

Photobucket


Photobucket

Friday, June 10, 2011

Silent Musing

Randomness at its best, I guess...I had a blog specifically for such ramblings but its been shot down since a while n' I can't help but do some amount of rambling here. I have been out of action so to speak coz of a family crisis. My father in law who was admitted in the hospital, all of a sudden, passed away on the 1st of June, life as I know it has changed completely since then.

None of us were even remotely prepared for an eventuality of this magnitude. Needless to say everyone feels shaken to the core. Rj could not handle the paramount depression that came with this event and be emotionally supportive to his mother n' kid sister. I'm in the middle trying to fill in some very large shoes. I have not been in Bangalore since my last post n' shuttling between, Bangalore, Bhopal n' Kottayam there is just no room for a food blog post from me.

I'm currently in Bhopal n' with my laptop n' camera left behind in Bangalore, i'm feeling really lost. I'm terribly missing my intimate interactions with food. Necessity cooking is so different from cooking new things for my blog. I never realised food n' blogging could mean so much to me. I know I will get to come back to blogging, but its gonna take some time. In the meantime I hope to read more blogs n' collect more recipes from all of you.

Related Posts with Thumbnails