Pages

Showing posts with label Snack. Show all posts

Thursday, June 23, 2011

Bread Pakodas/ Bread Pakoras and my first Skirt...;)

Thank you so much for leaving me condolence messages on my previous post. I'm back in Bangalore now and decided to do a blog post today.

Having had loads of free time on my hands....I have been thinking a lot....what constitutes a good food blog? new recipes? a lot of recipes? good photographs? a lot of followers? giveaways? loads of comments on the blog posts? what does? My blog doesn't feature a lot of what I have mentioned above....but then I realised it doesn't matter.....as long as we find absolute pleasure in doing a blog post, we should keep doing it. At the end of the day blogging needn't be something to prove your worth, you should have something nice to say, definitely, but its so important to enjoy the experience. Armed with such great words of wisdom, I'm gonna start doing my blog posts again. :)
Photobucket


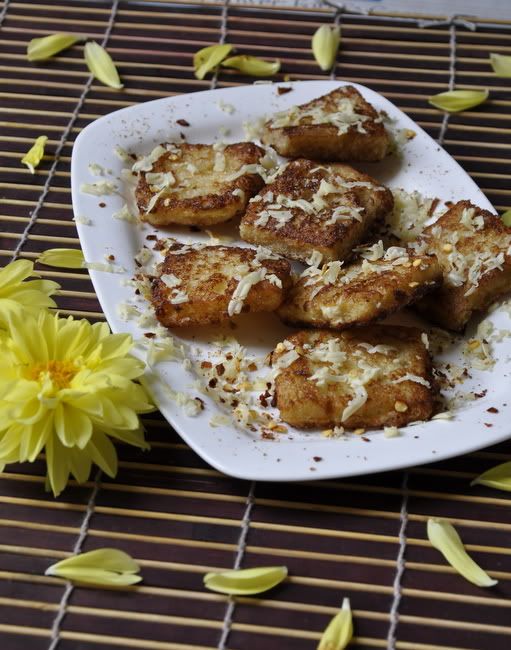
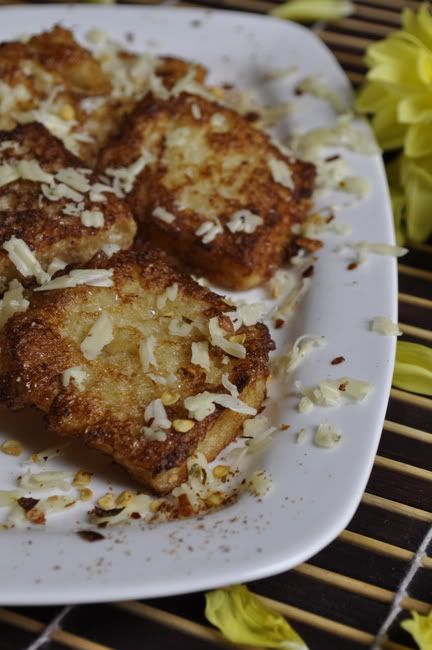
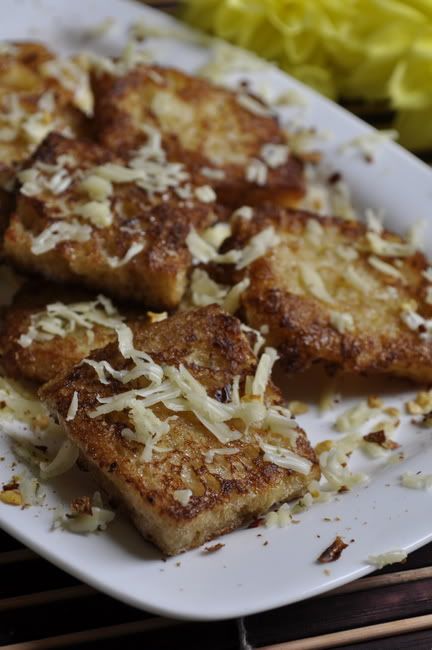
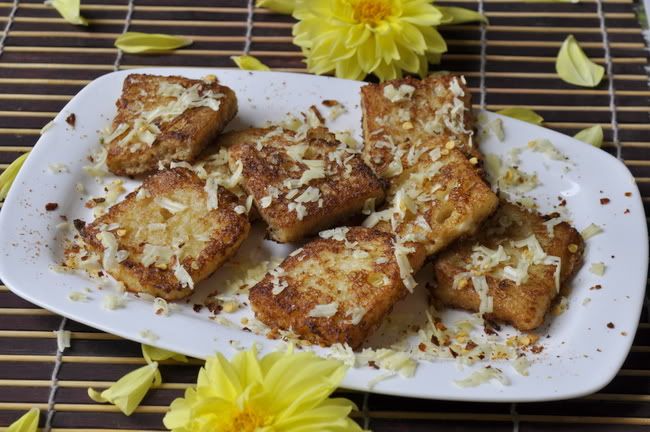
I'm not a big fan of bread in general. But come rain n' I can never refuse some good hot bread pakodas. The best part about them though, is the fact that they are so easy to make and most people are guaranteed to enjoy them. It so happened, a cousin of mine dropped in with her family one evening n' I, as always, had nothing to serve them n' these pakodas came to my rescue. So here you go...enjoy this simple snack...:)
Photobucket


Ingredients:

1. Brown Bread: 3 slices (cut them into whatever shape you like)
2. Eggs: 2-3nos
3. Salt: as per taste
4. Chili Flakes: as per taste
5. Cheese: grate it as required (I have used Britannia's Sour Cream n' Onion Cheese cubes)
6. Vegetable Oil: as required (I do shallow fry so use very little oil for this)

Method:

Step 1: Slice/cut the bread pieces into the shape that you want.

Step 2: Whisk the eggs and add salt to it.

Step 3: Heat the oil in a pan n' dip the bread pieces in the whisked eggs n' fry them.

Step 4: Once fried, serve them on a plate n' sprinkle it with some chili flakes n' grate some cheese on top n' its ready.
Photobucket


Being away from my laptop n' camera, I have been able to do a lot of things I had kept for later, like learning to stitch. My mom n' chechi stitch really well but I never sorta had an itch for stitching. But this time when amma came n' stayed with me, she bought me a sewing machine n' so I better start putting it to good use. I stitched 3dresses for my 2 n half yr old niece as she is starting play school soon. I don't have pics of those with me, chechi said she will send them to me soon, but attached is a pic of a skirt I stitched while in Bhopal. For a first time effort, I'm really proud of it. :)

Photobucket


I also found time to scout for some good recipes. I have been meaning to explore more, but haven't been able to manage the time to. Rj having been on his own for a while now, has been eating out every day, he can't cook a thing to survive. So all that 'healthy home made food is better' mantra, I kept telling him is down the drain. Now I really have to impress him with some healthy home cooking which tastes great. lol...Actually, I have a lot of posts to do of the dishes I had made before I went off, so I will quickly post those first.
Photobucket


Photobucket

Tuesday, May 24, 2011

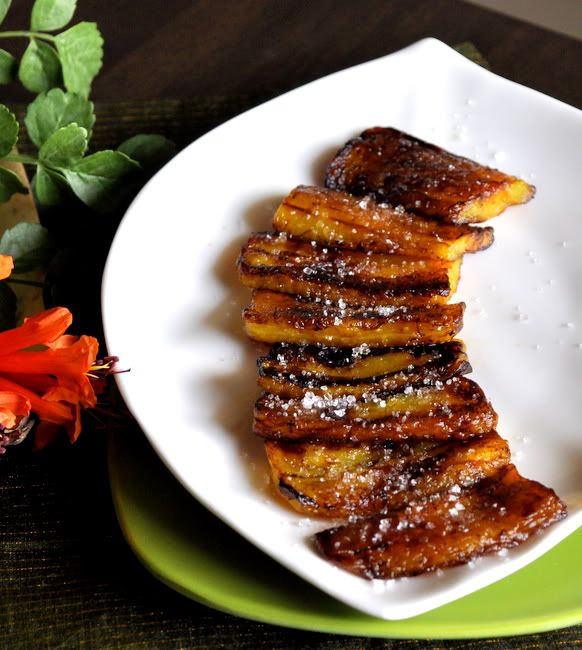
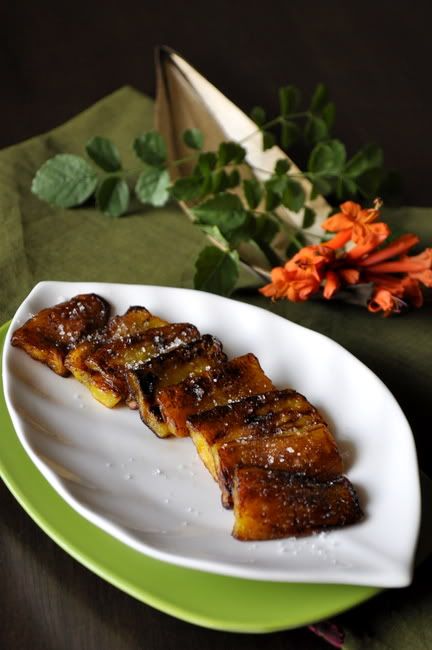
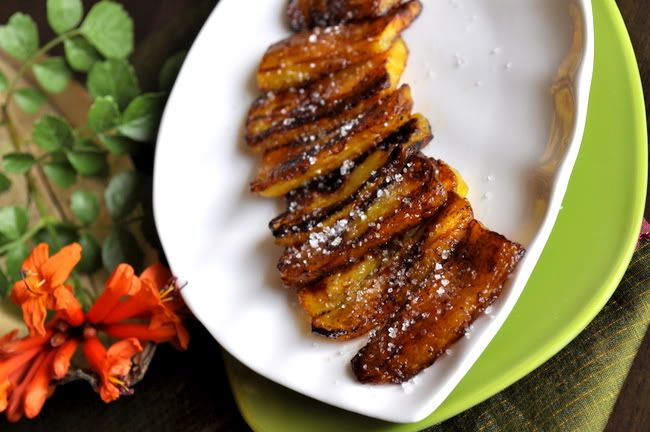
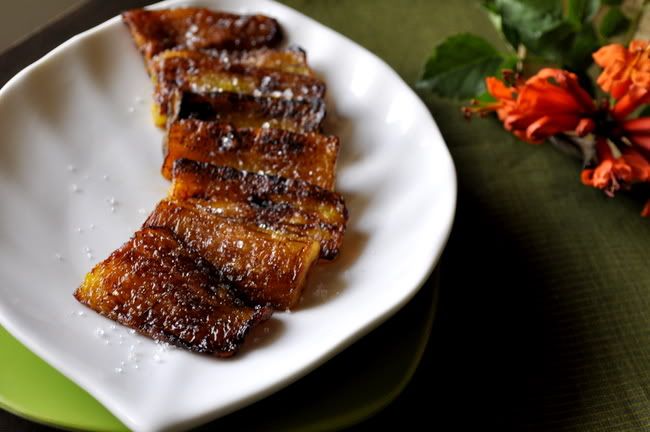
Kottayam Banana Ghee Roast...;) vs. French Caramalised Bananas

Photobucket

This was my appa's (father's) favourite evening snack. I remember amma making this n' keeping his share aside as soon as she makes it coz otherwise I would have finished it in no time. So I guess I liked this as much as appa did. I miss my father terribly, so many decisions would've have been taken out of my hands, making life so much simpler. He loved taking over. :) He was intelligent, complex, shrewd n' vulnerable if that is possible. Irrespective of having been a terrible teenager n a rebel, every single day I hope he knew/knows how much I loved him.


Photobucket

Coming back to this recipe, Rj doesn't enjoy this at all n' I'm secretly pleased with that, coz I still love it just as much n' don't mind not sharing it with anyone. I'm not sure this can be called Banana Ghee Roast, coz you just doing a quick shallow fry than roast, but the name sounded so suggestive I couldn't resist using it. :) I must say I haven't made evening snacks since ages, that custom is just not followed in my home. I guess mainly coz when I was working, we both came back home only after 7.30-8.00pm almost everyday. So anyway, I saw the French Chef, Manu Fiedel, making Caramalised Banana Fry on TV n' just couldn't resist making the Kerala/Kottayam version of it. I will mention his version in a little more detail below. :) So here you go.


Photobucket


Ingredients:
1. Banana- 1no (preferably overripe ones)
2. Ghee- 1-2tsp (or more depending on how much juice you want in the end)

3. Sugar- for sprinkling

Method:

Step 1: Cut the whole banana into 2 or 3 depending on how long you want the slices to be. Slice each piece vertically (as seen in the snaps).

Step 2: Heat ghee in a frying pan, arrange the slices of banana without overcrowding it and shallow fry them.

Step 3: Arrange them in a plate n' sprinkle it with some sugar. And its ready. Serve it with some ice cream if you like to create a Dessert version of the snack.


Photobucket

The last time I went home, Amma made these for me using home grown bananas n' I swear the bananas were so sweet, I didn't have to add any sugar. Now for Chef Manu Fiedel's Version.

He used Butter instead of Ghee, used a lot more than my version. He added brown sugar into the hot butter first and then added the bananas whole instead of slicing it. To make the whole thing look a lot more exciting, he even flambé-d them in the pan ;) and served it hot with some vanilla ice cream. I must say it looked divine. But my craving for the home version, made me try that instead. Happy Cooking!!

I would like to thank Asha from A Tasty Challenge for the award she passed on to me.
Her blog not only has some really yummy recipes, but she had actually taken on a challenge to finish 262 recipes in 365days n' completed the same this May. I'm in awe, kudos to you Asha.
Tuesday, May 17, 2011

Pani Puri- Nirvana at Home

Photobucket


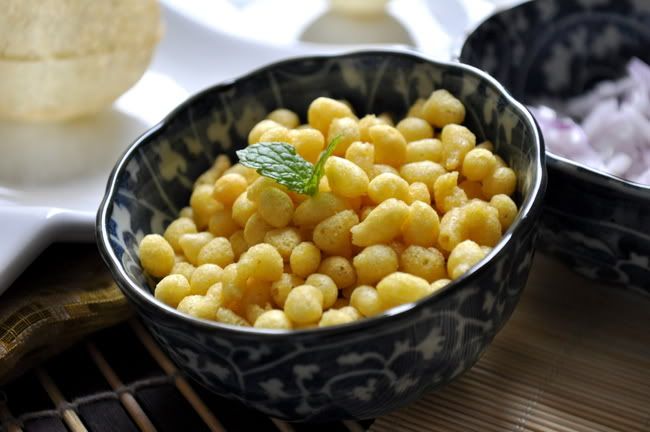
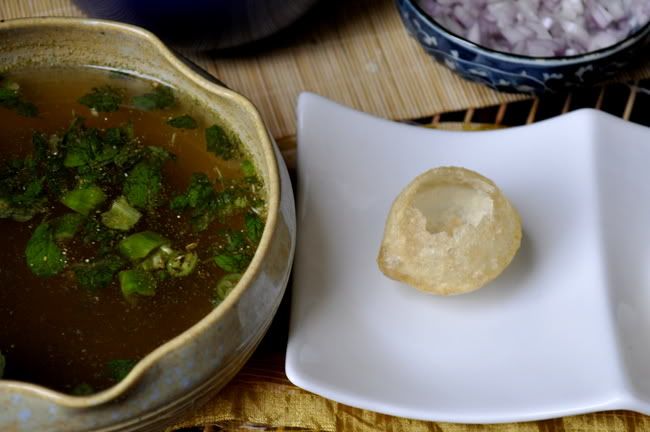
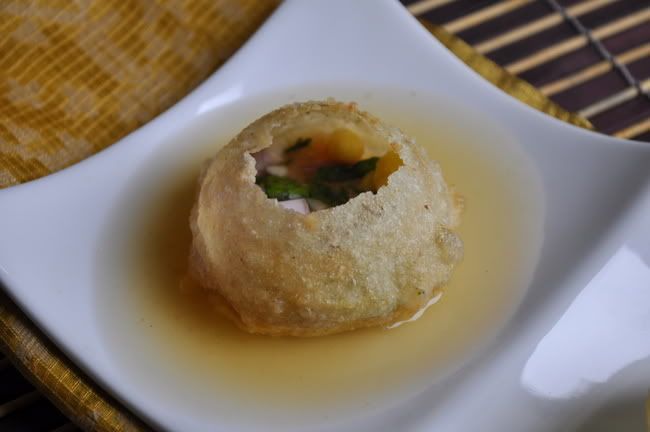
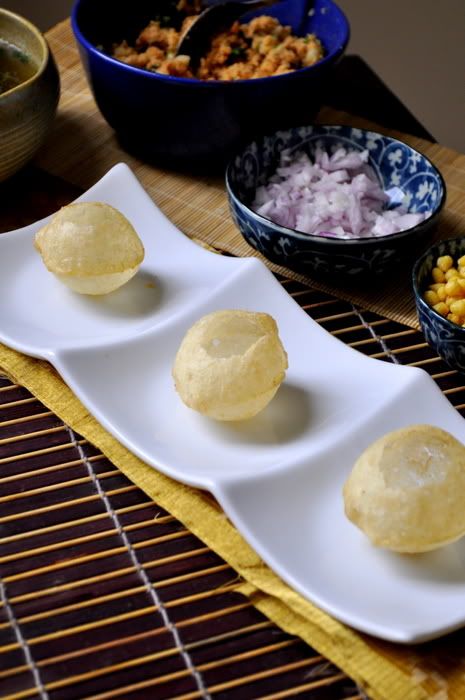
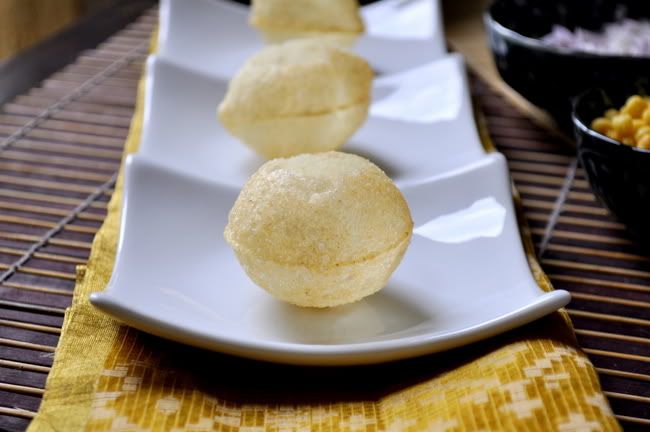
I had gone missing from blogsphere for a week simply coz I had a home full of loved ones n' was happy being busy. My mom n' my sister n' family were here with me for a vacation n' I had a great time with them....the best part about moving back to India is the amount of time I get to spend with my family. Coming back to this post. I can easily call Pani Puri my all time favourite snack....when I say all time, I really mean it....I can have it all the time/ anytime of the day n' relish it. For those who have never had it, Pani Puri is a popular street snack in India. It comprises a round, hollow puri, fried crisp and filled with a mixture of water, tamarind, chili, chaat masala, potato, onion and chickpeas. It is small enough to fit completely in one's mouth. The first time I had them was when I moved to Bangalore for my studies 10yrs back. I couldn't hold the whole puri in my mouth the first time around n' I remember thinking to myself 'how did I live to be 20 without ever tasting this?' I hunt for the best Pani Puri joint everywhere I go. In Bahrain, I had a Biharikaka who made such divine pani puri....n' he wud give me 2 extra sukka puri just to see how happy it made me, I think. ;)

Photobucket


I could have pani puri off the street vendor n' not think too much about it, but gone are those days....i'm more concerned about hygiene of the food n' the environment now. I don't eat pani puri or anything which uses water or fresh fruits n' veggies from a street vendor anymore. My youngest cousin,Indhu, who I love more than I can say, recently got typhoid n' was in really bad state. She was admitted in the hospital for 2weeks n' she has a small baby gal aged just over 1yr...everyone was so so worried about her. But now she is feeling better, the once healthy gal has become less than half her size, with really bad intestinal problems. I'm mentioning this in detail just so I can give out a word of caution to all who likes to eat from the streets. She caught it eating chat n' drinking some masala drink from one of the street vendors in Delhi. I also have to mention that her sis in law who ate/drank from the same place is ok. But really, the moral of the story is just that one needs to be cautious of where and what you are eating.

Photobucket


Koshy's Calcutta Chat on Brigade Road dishes out the best chat in town for me, including a good pani puri. But that being a little far off n' me not frequenting Brigade Road anymore meant I have to find a new source...My mom n' my sister loves pani puri too, so I decided to make it for them. My mom found it hilarious that she has to wait for me to finish taking some snaps before they could dig in....lol..;). I used ready to use small puris n' pani puri masala for the water. So here you go.

Photobucket


Ingredients:

1.Puri: 20nos

For the Filling:

2.Potato – 3 nos (medium-sized, boiled with salt, peeled and mashed)
3.Garlic – 2 to 3 pods (finely chopped)
4.Ginger – 1/2″ long piece (crushed/minced)
5.Coriander/Cilantro – 2tbsp (finely chopped)
6.Green Chili (optional) – 1 no (finely chopped)
7.Chili powder – 1 tsp
8.Garam Masala – 1 tsp
9.Cumin Powder – 1 tsp
10.Coriander Powder – 1/4 tsp
11.Amchur Powder/ Dry Mango Powder (optional) – 1/2 tsp
12.Salt – to taste
(add some fresh moong sprouts to get some extra flavour, I didn't have any with me so I didn't add it this time.)

For the Water:*

13. Everest Pani Puri Masala: 2tbsp
14. Lemon Juice: of half a lemon (medium size)
15. Mint Leaves: a palm full (crushed)
16. Salt: as per taste (keeping in mind that the masala already has some salt in it)
17. Green Chilli Paste: 2tsp
18. Tamarind Pulp: 2tsp
19. Dry Mango Powder: a pinch or 2
20. Water: as required (i used roughly 2cups)
21. Boondi
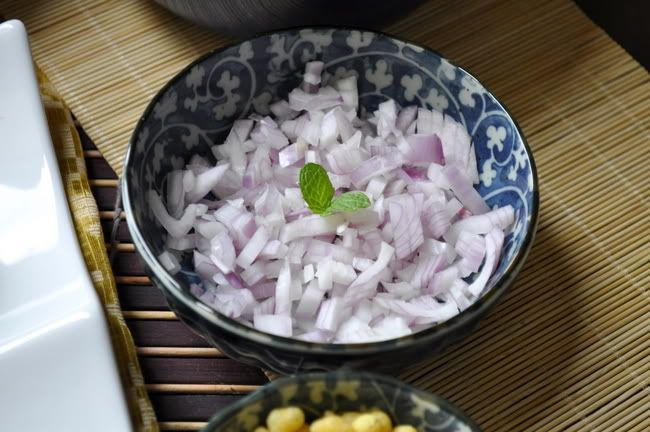
22. Chopped Onion

*all the ingredients mentioned under pani puri water, can be adjusted according to taste. I have mentioned how much I have used, but change it according to your taste.

Photobucket


Method:

Step 1: Mix all the ingredients required for the Pani Puri water n' keep it aside. If you like the water chilled, keep this mixture in the refrigerator at this point. (I don't like mine chilled so I didn't do this). Do not mix the boondi n' chopped onions at this point. You can add that on top while serving.

Step 2: Mash the boiled potatoes n' mix all the ingredients. Keep it aside.

You are actually ready to serve. Even though the list of ingredients seems long, it requires hardly any prep time. Also, if you want to serve it to guests, you can do all the preparation in advance n' make the holes in the puri n' stuff the filling in, dip it in the pani puri water n' there you have it....;) mouthful, eyeful n' wonderful....lol

Photobucket

Sunday, April 17, 2011

Corn Pepper Lime

As I'm sitting down to type this post, I see I have mail from Arundhuti of My Saffron Kitchen, I quickly click on the mail and see that I have won my first ever giveaway prize and that too a cookbook called "Cakes and Bakes" by Sanjeev Kapoor. I'm thrilled to bits and I'm thanking Arundhuti from the bottom of my heart. I mean, I really need to improve my baking n now I feel like God and Arundhuti (along with Sanjeev Kapoor) is gonna help me achieve this mission. :) She mentions that she will be doing more giveaways, please do visit her blog for more details.

Photobucket

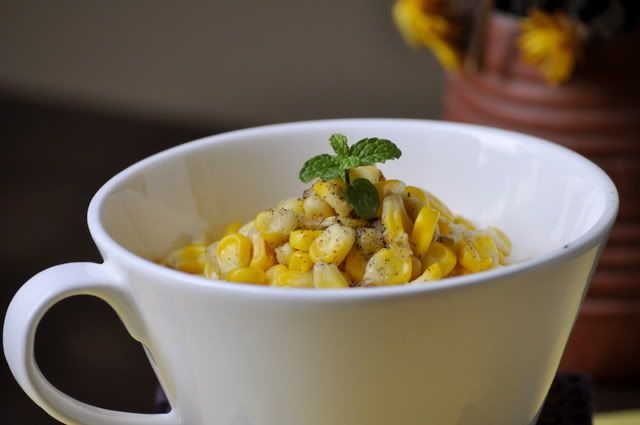
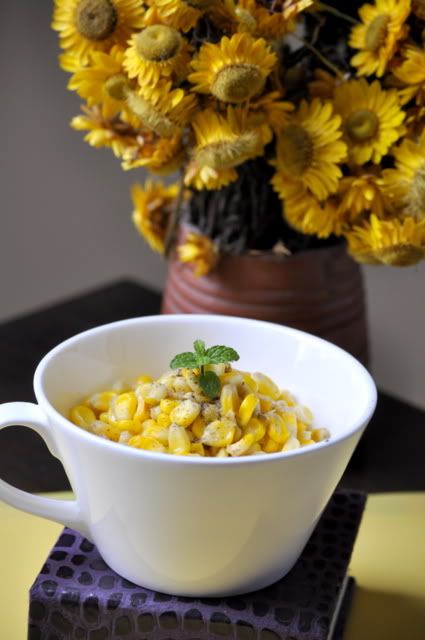
Coming back to this post,I saw some really fresh corn in the veggie shop today and decided to buy it, without having a clue as to what I want to make with it. I'm into finding out the benefits of my ingredients now. I mean if I can, I would love to eat healthy food and Corn I read is a good source of Zinc. But having boiled corn for this recipe, I wonder if the nutrients were retained. Anyway,I have had this flavoured corn in a cup at least a zillion times when we go out (mostly found in Malls). I used to have them even when we were in Bahrain. My favourite flavour is Lime and Pepper. So for a lazy Sunday evening, I decided to try making this as evening snacks. It turned out easy, healthy and tasty. Its really simple..

Photobucket


Ingredients:

1. Corn Pods/Seeds: of 1 medium sized cob
2. Butter: 2tsp
3. Lemon Juice: half a lime (or as per taste, i love it sour)
4. Pepper Powder: 1/2tsp 5. Salt: as per taste
6. Water

Method:

Step 1: Boil the corn pods/seeds in water. Add some salt to the water while boiling. Roughly 10-15mins. (The pods should almost double up in size and should become really soft.). Set aside and corn in a deep bowl. Retain a little of this water separately to use later.

Step 2: Melt the butter. Add the lemon juice to this and mix well. Add couple of spoons of the salted water used to boil the corn to this. (If you are using salted butter, just remember to keep checking the seasoning)

Step 3: Add pepper powder to the bowl of boiled corn, add the lemon juice mixture and whisk well to get the corn coated well, and this is ready to serve hot. :)

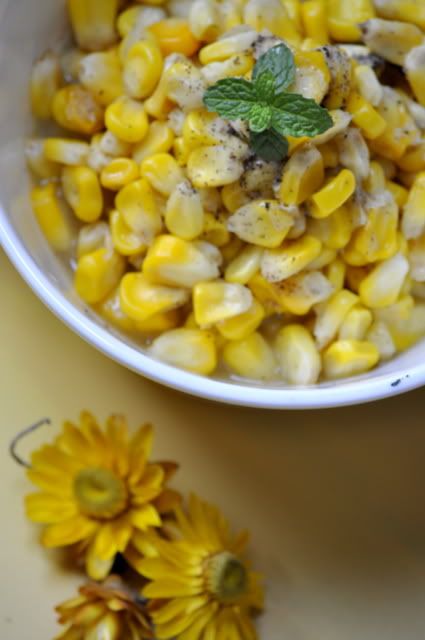
When we buy this, I'm always trying to lick off even the last drop of liquid in my cup. So when I made this at home, I decided to give myself some extra juice.:) In the theatre we spent nearly Rs.50/- for this much corn last week, having made this at home I don't think I have spent more than Rs.20/- on this. ;). Between,if you are wondering the reason why I'm garnishing every post these days with Mint, its coz I have a nice mint plant in my small terrace garden now. ;)

You can replace pepper with the other flavours like chili flakes, chat masala etc. Add some chopped tomatoes and you can serve this as a Salad. I'm sending this off to the event Souper (Soup, Salad & Sammies) Sundays hosted by Deb from Kahakai Kitchen.


Photobucket


Wednesday, April 28, 2010

Noodle Omelette (or Should I say) Noodle Frittata


This happens to be my 50th post and seems like it took me a long while to reach here...my sister n' mom saw my foodblog only recently and were quite impressed that the skinny gal who would eat only pickle n' tamarind (most of the time even for meals) is considering a variety of dishes now...:D...i remember how i used to trouble amma when i'm back from school (actually even when i was in college) for an evening snack...somehow that was the most important meal of the day for me then. I was easy n' difficult (according to amma) to feed. ;)...easy coz you could give me my favourite dishes everyday n i wouldn't complain. But now that i have started cooking n' RJ is like me...i have started appreciating how this habit can be difficult as well...coz its so boring to make the same thing over n' over again...;)

Anyways my recipe today was something my mom used to make for me....especially as an evening snack...i used to like this a lot n' i decided to make this for RJ recently...give it a try especially if you have kids...they will love this...adding cooked chicken pieces to this can even make this a meal i guess....;)...so here you go...

Ingredients:

1. Noodles: 100gms
2. Eggs: 4nos
3. Onion: 2nos medium (sliced)
4. Tomatoes: 1no (chopped)
5. Taste Maker: 1 sachet (or as required)
6. Cheese: 2-3 tsp (grated)
7. Butter: enough to grease the pan
8. Salt: to taste (keeping in mind that the tastemaker has salt as well)
9. Green Chili: 1no (seeded n' chopped)

Method:

Step 1: Cook the noodles and keep aside.

Step 2: Saute the sliced onion till tender.

Step 3: Add the tomatoes and the green chili to this and cook for a while.

Step 4: Add the tastemaker, if using at this stage.

Step 5: Mix in the cooked noodles with the above.

Step 6: Beat the eggs well and pour half of it into a non stick pan. Add the noodles mixture to this. Let it be for a minute or less.

Step 7: Sprinkle the grated cheese on top of this. Pour the rest of the beaten egg on top.

Step 8: Cover it with a lid n' cook on low flame. Add salt if required and its ready. (I flipped it with great difficulty just to ensure that both the sides are cooked evenly. If you don't want to flip it n' covering the pan with the lid is not giving you the results you desire...just pop this into the oven for a while n' that should ensure the top is cooked well without you having to flip it.)

So here i'm dedicating my 50th post to my amma...the most important person in my life.

Tuesday, March 23, 2010

Khasta Bhindi


I guess it's kind of safe to say this feeling of wanting to update my blog with some interesting recipe gives me a feeling close to preparing for an important exam. Today morning i couldn't sleep well and woke up really early like 4.30am n'tried to get some more sleep....by 5.30 i was wide awake and decided to get up do some cooking before i head to work...i prefer to finish my cooking in the morning, that way when i reach home in the evening i can laze around....:)

So i was going to make some Bhindi Stir fry (i know boring! right??) yeah anyways...that was on my menu for myself and some Chicken Karahi for RJ...then i remembered Nish from Look who's Cooking too had posted a Tarla Dalal recipe for Masala Bhindi the other day...i also remembered there was something similar by Nita Mehta in her book "Learn to cook with Nita Mehta"...decided to give it a go...came out well but i can't seem to make out with what should i be having these....:(...i had them with chapathi n' i wasn't sure that's how it is meant to be eaten...if you have some suggestions, please do let me know....Oh by the way...i know this is another fancy name but 'Khasta' actually just means 'flaky'...it's just that i would prefer the name "Khasta Bhindi" to "Flaky Bhindi" anyday...;)

Ingredients:

1. Bhindi: 250gms
2. Cornflour: 2tbsp
3. Ajwain(Carom seeds): 1tsp
4. Turmeric Powder: 1/4 tsp
5. Chaat Masala: 2tsp
6. Chili Powder: 1/2 tsp
7. Ginger: 1tsp (crushed)
8. Gram Flour: 1/2 cup
9. Salt: to taste or 1/2 tsp
10. Lemon Juice: 1tbsp
11. Oil: 5tbsp (add a little more later if required)

Method:

Step 1: Wash and pat dry the bhindi

Step 2: Cut the head and not the pointed end. Slit each of the bhindi into two pieces lenghtwise.

Step 3: Heat the oil in a wok for frying.

Step 4: Mix all the ingredients, corn flour, ajwain, turmeric powder, chaat masala, chili powder, ginger, gram flour and salt with a very little water. The batter should be really thick.

Step 5: Sprinkle the lemon juice to coat the mixture onto the slit bhindi. Do not keep it aside, fry immediately till crisp.

The coating of the mixture and frying can be done in 2 batches. Once fried drain on paper napkins and serve hot.

Wednesday, March 10, 2010

Calzone Inspired Chapathi


Yesterday i was supposed to make 'Calzone'. I came across this recipe for the same on Sanjeev Kapoor's show in Star Plus or is it Sony??? anyways...i didn't get to watch the whole program...but i decided to give it a try. I wasn't sure about the measurements n' decided to IMPROVISE. I feel really silly saying it out loud here...but i have to anyways....just so that i don't make this mistake again....after kneading the dough...i kept in covered in the fridge for 4-5hrs...:(...can you believe that? n' when i reached back home last night i went to the fridge (all excited)to check on the dough n' to see how much it has risen...n' i found this really hard ball in my greased bowl....n' i was so disappointed...(it still didn't click!!!)....

i went on to make Chapati n' Egg Masala for dinner n' while rolling the chapati, it struck me...why don't i try making a Calzone inspired chapatis...i wasn't sure what i needed but i wanted to give it a try anyway...but first i said to myself let me finish making dinner coz what if this one doesn't turn out nice...boy i was in for a surprise alright...:)...so here you...judge for yourself...n' did i say...this recipe is really simple too...;)


Ingredients:

1. Wheat Dough- 2 balls (the size of golf balls)
2. Onion- 2 medium (sliced)
3. Mushrooms- 3-4 (sliced)
4. Broccoli- 3-4 florets (sliced)
5. Oregano- ½ tsp ( i used dry oregano leaves)
6. Black Pepper (fresh)- ½ tsp (crushed)- (add more if you want it spicier)
7. Salt
8. Butter- 2tsp (since i was trying this for the first time...i wanted some help here n' added around 3tsp :)
9. Goat Cheese- 1tsp for each (optional i guess...i added it coz i had some left over)
10. Mozzarella Cheese- 1tsp for each (shredded)...(add more if you want..;)

Method:

Step 1: Heat a pan n' melt butter in it (till it foams) n' add the sliced onions to this. Sauté till the onion are a golden brown (n' this smells divine ;)

Step 2: Add the sliced mushrooms to this. Let it cook for a while. (A little amount of liquid should ooze out from the mushrooms) Stir it till it shrinks back into the mushrooms...

Step 3: Add the sliced broccoli to the above. It will change it's color to a dark green in about 3-4mins n' that's how we get to know it's done...

Step 4: Add Oregano, black pepper n' salt and its ready...

Step 5: Roll out your Chapati n' fill a half of the circle with this filling, add the soft goat cheese, n' top the filling with some shredded cheese.... leaving a little area on the edge to fold n' close the chapati. Fold it into a half circle n' close the corners by pressing it with your fingers or a fork.

Step 6: Heat a pan n' let the above filled chapati cook on low fire. Cook both the sides n' the edges...in total for at least 8-10mins to ensure the insides are cooked. Spread a little butter on both the sides and it will take on a golden brown shade...n' it's ready...

As you can see i basically used whatever i had at home as a filling...i think you can use just about anything for a filling n' serve it as snacks for kids n' they would love it....:)...also since this was an experiment i made only enough for two. Please increase the measurements if you want to make more...:)

p.s: at the end of all this i saw the dough i had kept aside to throw had become so soft n' it was beginning to rise....how did i not remember that the dough needs to be left in a warm place for it to rise??? instead of inside the fridge??


A special thanks to Nish from Look Who's Cooking Too for giving me this badge (my first one ever...didn't get any even when i was in school ;)...i'm truly touched...i want to pass it on to....malluspice (one of the first blogs i started reading), cookingandme (i came across her blog when i wanted to learn more about food photography) and mariasmenu (coz she makes cooking look simple, fun and you can easily make out she loves what she is doing). Gals....please grab the award, brag about it, display it on you blog and link it back to whoever awarded it to you, share 10 things about yourself and pass on the award to anyone you like.

Now for 10things about me....i truly had a tough time doing this....which was strange considering how i love to talk....:)

1.I don’t like every day cooking. I look upon it as a chore. I mean I hate to cook when the reasons are ‘hunger’ or ‘it’s meal time’n’ reasons like that. But it’s for the sheer pleasure of it I get really excited about cooking.

2.The main attraction for blogging these days seems to have something to do with the new camera we have. I love taking photographs and making things/people look beautiful.

3.I’m a non vegetarian skewed towards veg food more than non veg food :)

4.I don’t like fish…I love crab, prawns, mussels n’ occasionally like fried pieces of fish but I’m over particular about how it should be.

5.I don’t crave for sweet food, but I love (more like worship) spicy food. I can eat pickle with just about anything.

6.My family is my strength.

7.If it weren’t for the strict upbringing (by my father…which I hated at the time) I would have never had the strength of character I have today.

8.The thing I enjoy the most about Bahrain is my work place….for the first time in my life I have a boss with a sense of humour.

9.The place I earned my independence was Bangalore, so for me the 8yrs I spent there will forever be a highlight of my life. I will always love that place more than any other place.

10.Something I enjoy more than anything else in the world has to be shopping. It gives me an adrenaline rush like no other….i (almost) can’t resist anything that’s on sale n’ especially if I think it’s a steal for that price.
Related Posts with Thumbnails