Pages

Showing posts with label Vegetarian. Show all posts

Friday, July 22, 2011

Pickled Jalapeños n' a note on 'The BBQ Story', Bangalore

Photobucket
Photobucket


I have to do a blog post today....yeah, HAVE TO. You must have all realized that i'm being rather slow with my blog post updates these days....well let me assure you its not lack of cooking. I have been really busy with guests/friends pouring in (what with me not working anymore more n' all, I'm the only one with loads of time on my hands) n' on top of that I'm just not inspired to take photographs of what I have been cooking. Don't know why, i'm hoping its just a phase n' it will soon be over. I have heard some bad news yesterday which has left me feeling gutted. Well mopping up is over n' I have decided to do a blog post today.

Photobucket


I have mentioned Chef Sarabjeet in my Hara Bhara Paneer Tikka post a while back. I met him at this Weber grill workshop here in Bangalore. Now he n' his friends are working together on projects/workshops to make food enthu people like you n' me, convert that enthu into some serious skills in the kitchen. They call it 'The BBQ Story' n' "Learn, Grill n' Chill" is there motto. :) So far, they have done 3 workshops, missed out on the 2 of them, but I ensured I could take part in the 3rd one n' I enjoyed it a lot. Some of you who have added me on Facebook must have seen some of the snaps here. The menu that day was Banglore Muslim Dum Biryani, Chicken Malai Tikka, Grilled Ghost Kheema Tikka, Grilled Fish Wrapped in Plaintain leaf with a Coriander marinade.. The Biryani was to die for, the recipe was simple, but the tips n' pointers the Chefs there tell us while cooking are irreplaceable. All in all, it was just an awesome Sunday for me. Please read more about them here n' follow them for more regular updates. They are coming up with BBQ Chapter 4 on 24th July...the details are as under.

Chef Sarabjeet says...."Learn to make,Country style Grilled Steaks and Home made fresh Sausages, and lots more...!!!!!!
When..????-24th July, Sunday
But what time..?? 10am onwards
Now..Where..?? @ Yolk Studio Kormangala
How to book..? Call sarabjeet on 9916580506 or text Sushil on 9880340900
and to drink??......:) Wines from Nine Hills..!!!!!..come learn, grill and chill..!"

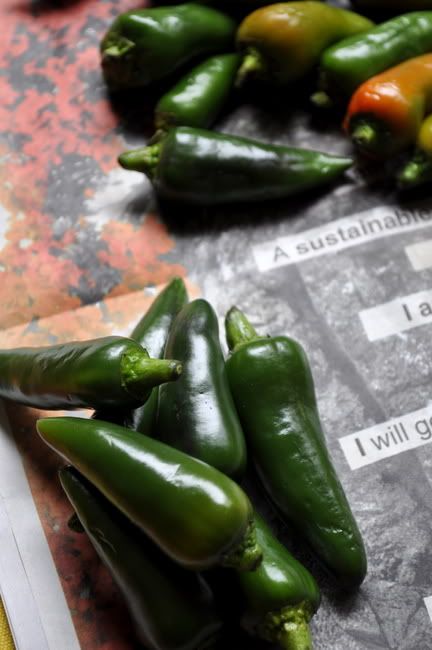
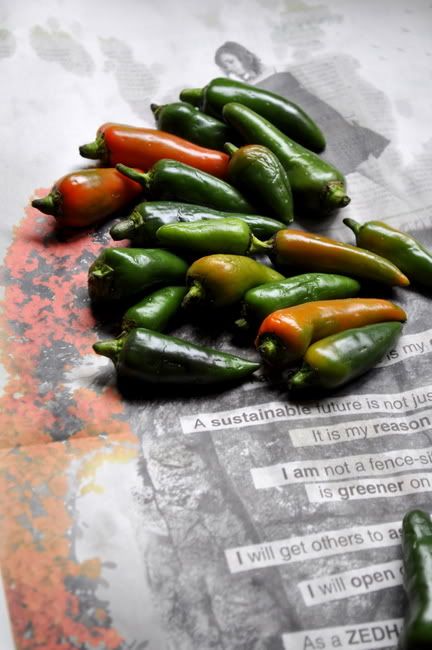
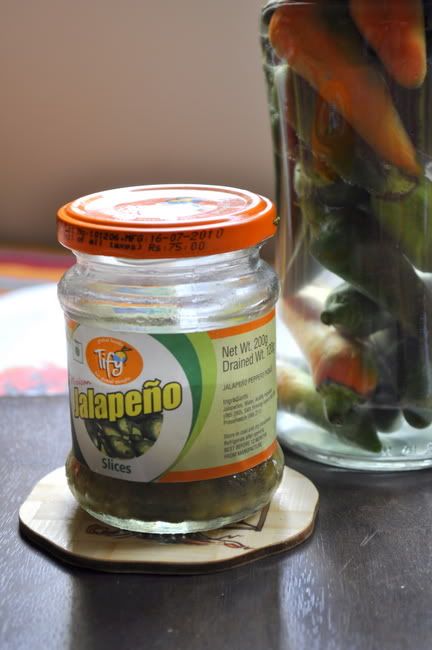
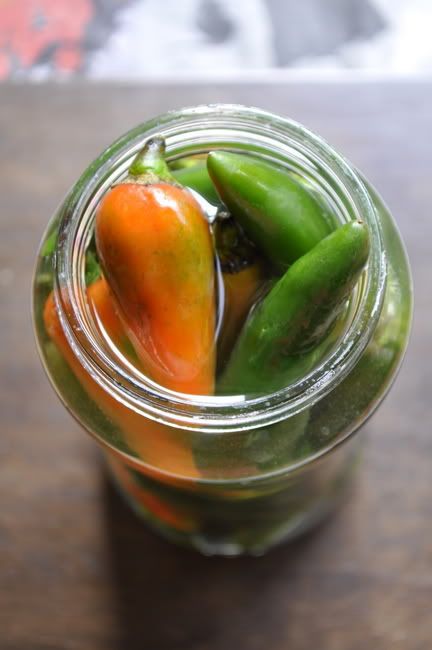
Coming to today's recipe, its a simple recipe for some fuss free Pickled Jalapeno Peppers. I love pickled jalapenos, if I see them listed as an ingredient while ordering a Pizza, i'm almost always biased towards that pizza. Buying them in Bangalore is an expensive option. I buy a 200gms of sliced jalapeno pickle for Rs.75/-. So when I saw a packet of fresh Jalapenos here, I just had to buy them. Having no clue how to pickle them didn't help. Saw lot of takes on how to do some fancy way of pickling them. But I decided to stick with this simple version. The recipe is adapted from here.
Photobucket


Ingredients:

1. Fresh Jalapeños: 250gms (whole or sliced)
2. Salt: 1tbsp
3. White Vinegar: 1cup
4. Water: 1 cup

Method:

Step 1: Warm the jar you want to put the pickle in. (I kept it in the MW for 1.30 seconds)

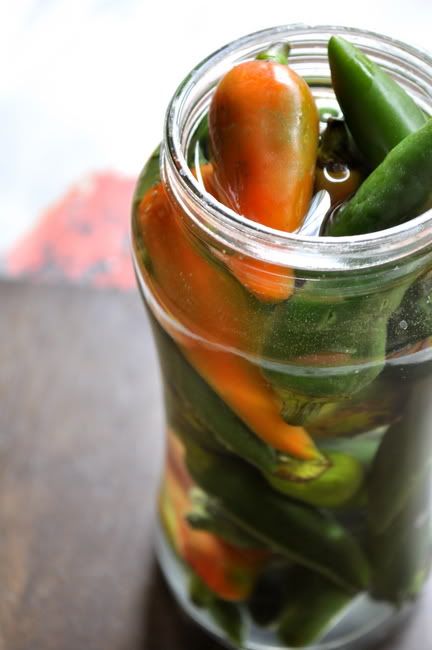
Step 2: Pack the jalapeños in the warm glass jar. Since I used whole Jalapeños Peppers, I prodded them with a serrated knife to ensure that they soak up the brine.

Step 3: In a saucepan, add the rest of the ingredients and simmer for about 5 minutes. (I just boiled the mixture in MW for 2mins).

Step 4: Pour hot brine over top. Bubble your jars thoroughly by tapping them firmly on the countertop and using a wooden chopstick to release any stubborn bubbles. Wipe rims, apply lids and bands.

For a crunchy bite, you can start nibbling on them within a few hours. As for softer texture, let this sit for 4-5 days. They say you can keep it refrigerated for upto two months.
They taste awesome in a sandwich n I plan to take some for my mom who is a huge fan of Sandwiches n' pickled veggies. Happy Cooking!!! :)
Photobucket

Saturday, July 9, 2011

Curd Rice/ Mosarnna


Photobucket

Photobucket

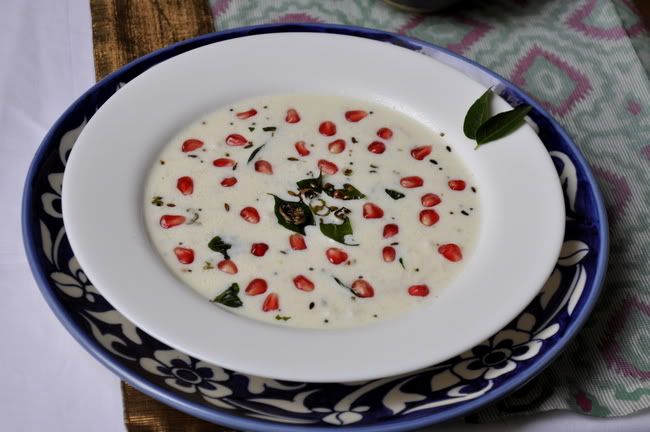
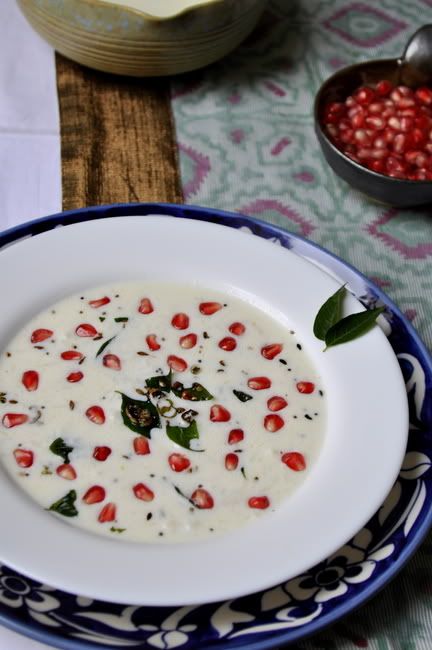
Curd Rice for me is like a healing food. Perfect to have when your tummy is troubling you. For the 2yrs that I was in Sales in Bangalore, I faithfully had this for lunch almost everyday. Not really cause I had tummy ache everyday :). But coz Adigas in Bangalore serves a really yummy curd rice with a mixed vegetable spicy pickle. I would say, like a Biryani gets served for weddings in Kerala (as if its a must), in Karnataka, Curd Rice is considered special and gets served for all occasions. Almost like a meal is incomplete if Curd Rice doesn't get served. This Curd rice recipe is a South Indian rice recipe. It is easy and quick and simple dish to make especially if the cooked rice is ready.Generally it is served at the end of the meal.

Curd rice is aka Dahi Chawal(Hindi) Thairu Sadam(Tamil) and Mosarnna(Kannada). I wish I could stay n' chat more. But I have a really busy weekend ahead of me and I should really be going. Wish you all a Happy Weekend. The recipe is as under.


Photobucket


Ingredients:

1. Cooked rice : 2 cups
2. Plain curd : 3/4 cup (not too sour) (also feel free to be generous n' add more curd)
3. Milk : 1/2 cup
4. Green chilies : 1 or 2
5. Ginger paste : 1/4 teaspoon.
6. Salt - to taste

For Seasoning:

1. Oil - 1 tbsp
2. Tur Dal - 1/2 tsp
3. Massor Dal - 1/2 tsp
4. Mustard seeds - 1/4 tsp
5. Cumin seeds - 1/2 tsp
6. Asafoetida - a pinch
7. Curry Leaves

Method:

Step 1: Heat oil in a pan. Add mustard seeds and cumin seeds. When they stop crackling add Dal (I used masoor n' tur, you can use any dal, i'm sure). Fry it, but ensure it does not get burned.

Step 2: Add asafoetida, chopped chilies and curry leaves. Fry for 5 seconds.

Step 3: Take off the pan from the stove and let it cool a little.

Step 4: Mix the cooked rice, curd, milk and salt.

Step 5: Add the seasoning into the rice mixture and mix well.

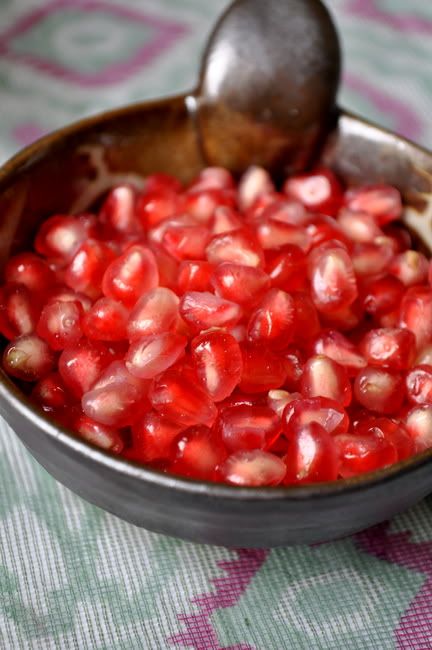
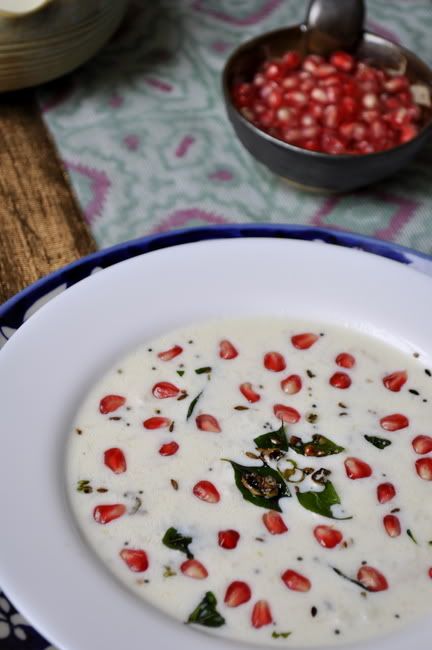
It is ready to serve. Serve it as a meal by itself or with lime pickle or mango pickle.The only thing to remember, really, is mix Curd Rice just before serving. Once the curd rice is mixed it should be eaten immediately or it can get sour, so if you are not planning to eat it immediately, put it in the fridge. Rice also becomes thick after some time. So a little milk may be added again at the time of serving. Adding Pomegranate Seeds, fried cashews, fresh grapes etc into the curd rice before serving it is a practice that I love. :) Happy Cooking!!


Photobucket

Friday, July 8, 2011

Grilled Carrots with Rosemary


Photobucket


I like carrots, they are sweet but tastes great in a savory dish. They are crunchy, look so pretty n' is packed with healthy nutrients especially Vitamin A, K n' C. (I learnt all that from the Active Foods workshop I recently attended). So anyways, Rj doesn't like it when I cook carrots, (for that matter most veggies) so I clean them n' give them in his salad n' he enjoys that. So I bought some extra yesterday. But I forgot to give him any last night n today he has some office thing so didn't need lunch n' won't be back before late in the night.

So I was looking at an option to make a juice. But then I came across this recipe for grilled carrots n' I just fell in love. I have been hoarding posts for later. But with this one I just couldn't wait to publish it. I totally love this recipe n' the kitchen smelt so good after grilling them with rosemary. You just have to try this. Our awesome friend, Jeffrey, who was with us in Bahrain, had given me this grill pan (I had even used this in my Hara Bhara Paneer Tikka recipe too) and its just so useful. He wanted me to show off this pan here n' I thought this recipe is perfect for it. lol.... I love it n have used it to make this. The recipe is adapted from here. So here you go.


Photobucket


Photobucket


Photobucket


Ingredients:

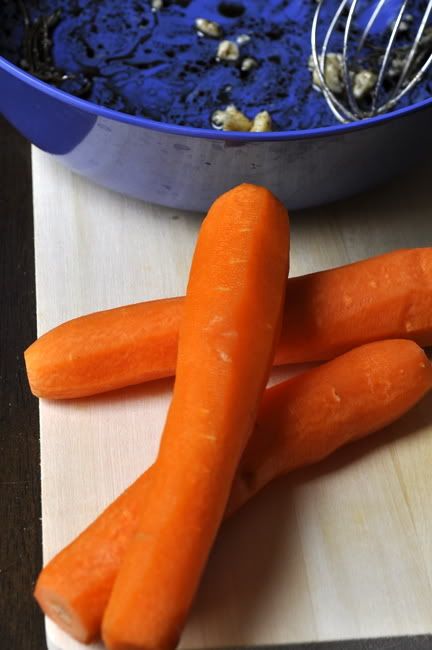
1. Carrots: 3nos
2. Butter: 2-3 tspn (room temperature) (yeah I was a little generous, I used salted Amul Butter)
3. Extra Virgin Olive Oil: 2tsp
4. Balsamic Vinegar: 1 tbsp
5. Rosemary: 1 tsp (chopped) fresh
6. Salt: if required
7. Fresh Black Pepper: as per taste (optional)

Method:

Step 1: Heat grill pan to high flame.

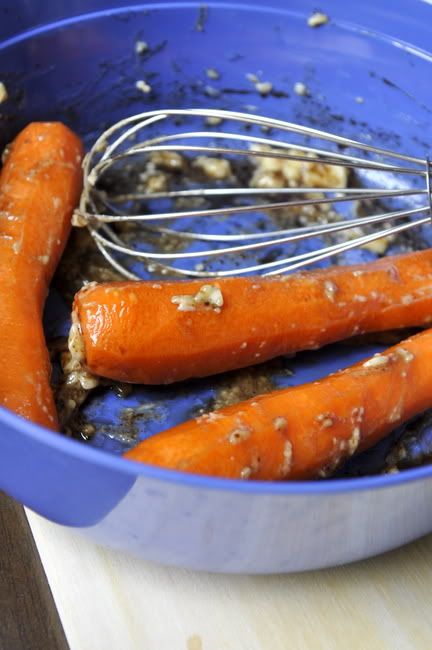
Step 2: Whisk together butter, olive oil, vinegar, and rosemary.

Step 3: I left the whole carrots in the marinade for couple of mins and then arranged them on the grill and brushed them lightly with the marinade occasionally. (all this should be once you have changed the flame to low. (keep them in the warm area first before shifting them to the hot area on the grill.)

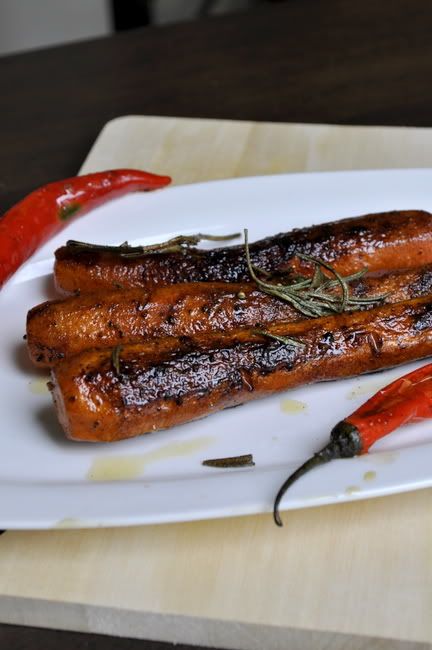
Step 4: Grill for approximately 20 minutes, turning occasionally to prevent extreme charring.
When carrots are softer, but still slightly firm, remove from heat.

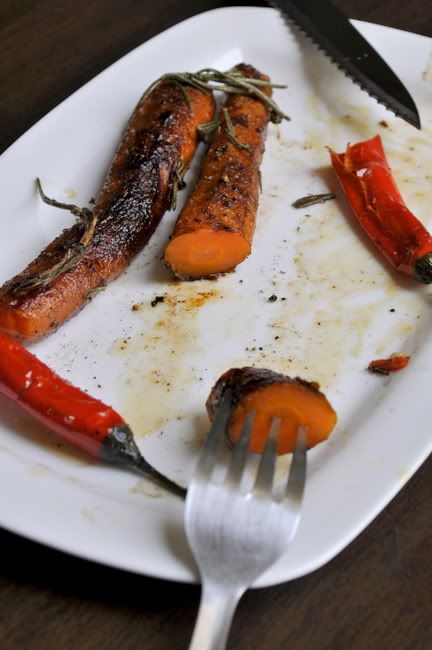
Step 5: Add to a serving platter and drizzle with the remaining marinade. I had to add a little more salt n' some freshly ground black pepper to give it an extra kick (but that is totally optional). I even grilled 2 red chilies along with this in the last 5mins n' ate it along with this. Try it try it...its good...Happy Cooking!!!


Photobucket


Photobucket

Monday, July 4, 2011

Kerala Mango Pickle or Curry/ Kadumanga Achar


Photobucket

Photobucket


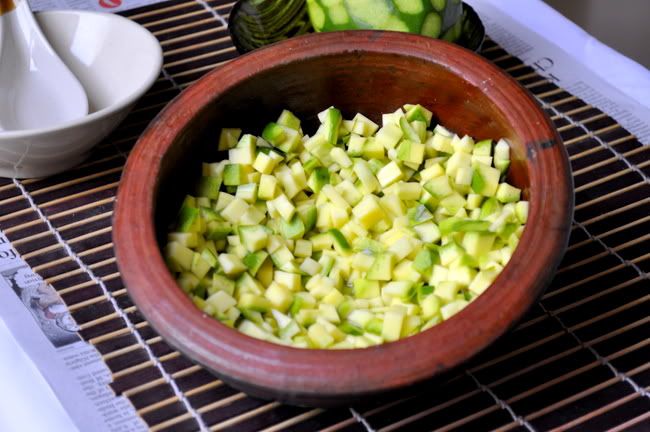
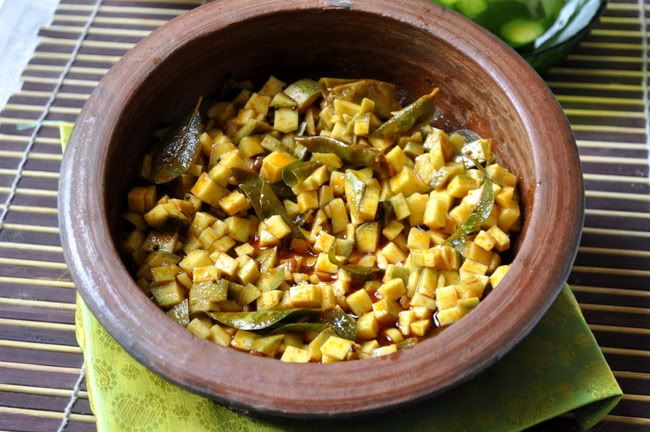
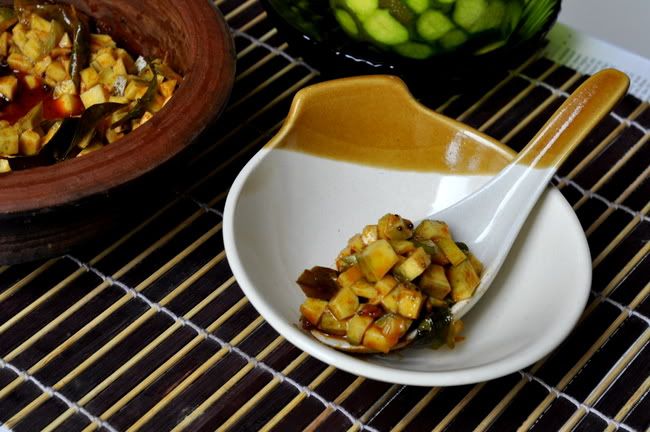
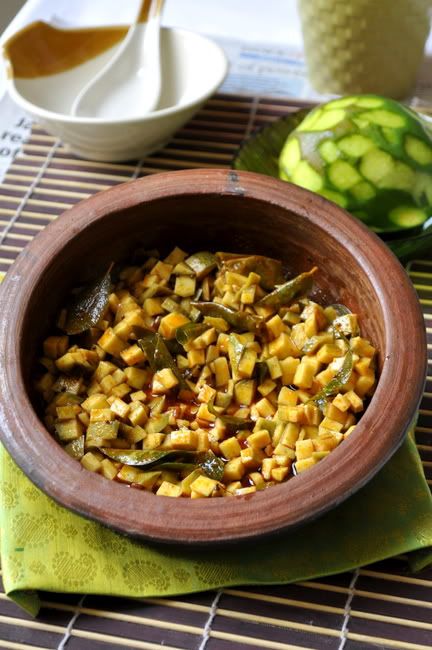
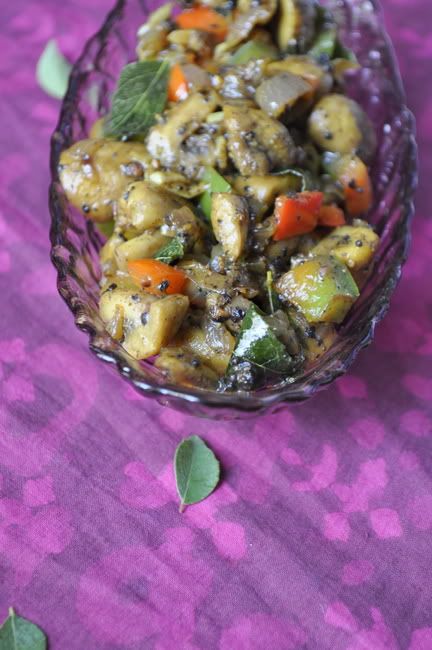
This is my third post on Mangoes this month, I had gotten distracted with my baking mission n' couldn't complete the hattrick as planned. :) This pickle, even though it comes under the category of a pickle is often mistaken n' eaten as a Mango Curry. Kanji, the most popular comfort food of a Malayali, is most often accompanied by this pickle. I love it so much, this is one of the first things I wanted to make the moment I got a kitchen to myself. The only thing is, I love eating it even without anything with it. I can just eat this in a bowl n' be happy about it. I have consciously stopped doing this, but the inane desire is to do just that, the moment I see this pickle is still there.

I can eat pickle with anything n' everything, that's how much I love it. But other than this, I don't make any other pickle at home. The white lime pickle, the no oil red lime pickle, the black gooseberry pickle, the mango with mustard seeds pickle etc that we keep a stock of at home are all supplied by my mom. This pickle has less shelf life than the other pickles. The recipe? Here you go. :)


Photobucket


Ingredients:

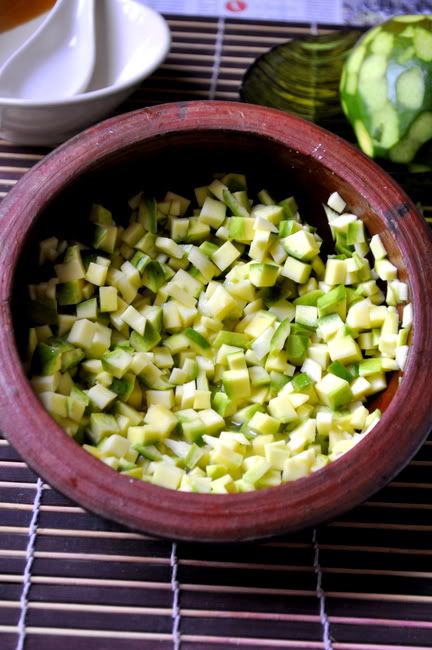
1. Raw Mango: 2nos medium (chopped or rather cubed into really small pieces)
2. Chilly powder : 2 tbsp (or as per taste)
3. Turmeric powder : 1/2 tsp
4. Salt : As reqd
5. Gingelly oil : 5tbsp (best for pickles)
6. Fenugreek(Uluva) powder : 1 tsp
7. Asafoetida(Kaayam) powder : 1/2 tsp
8. Vinegar : 3tbsp ( or more depending on the taste)
9. Curry leaves : 1 bunch
10. Mustard seeds : 1 tsp
11. Dry Red Chili: 1-2nos

Method:

Step 1: Add salt to the mango piece n' keep it aside for atleast an hour or 2.

Step 2: In a kadai/wok, heat the oil. Add mustard seeds, fenugreek seeds, dry red chilies n' curry leave. Allow it to splutter.

Step 3: Remove the kadai from the stove and add the red chili powder, turmeric powder n' asafoetida powder. (You are doing it off the stove cause we need to take care not to burn the powders used.)

Step 4: Mix in the mangoes into the above mixture. Allow it to coat well. Add vinegar. Check the salt n' add more if required. Keep it aside overnight or at least for 4-5hrs to allow it to absorb the spices.

If you ask me, its best served with everything. ;) But traditionally, its served with Kanji or Rice n' Curry. Happy Cooking!!! :)

Photobucket

Photobucket

Sunday, July 3, 2011

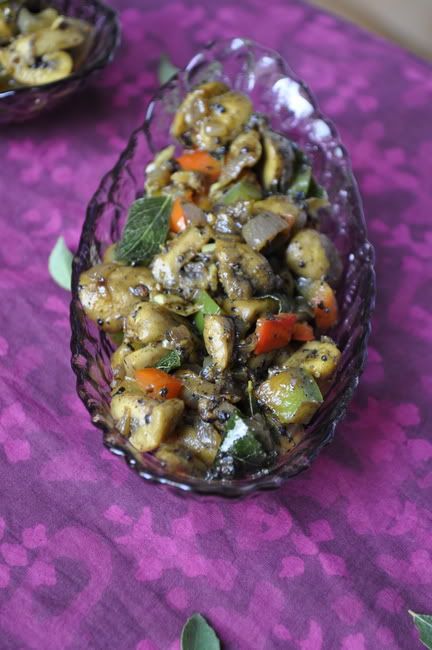
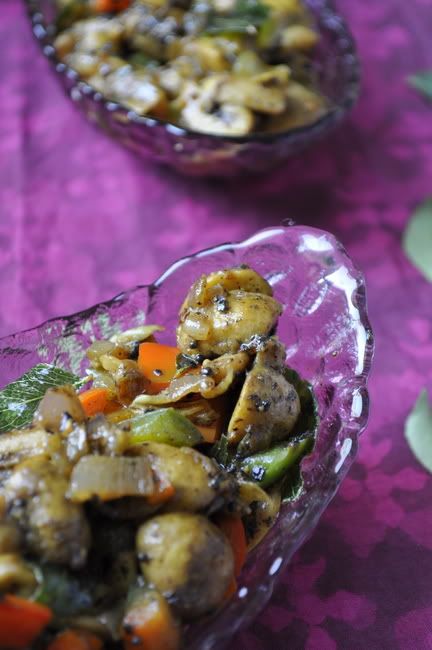
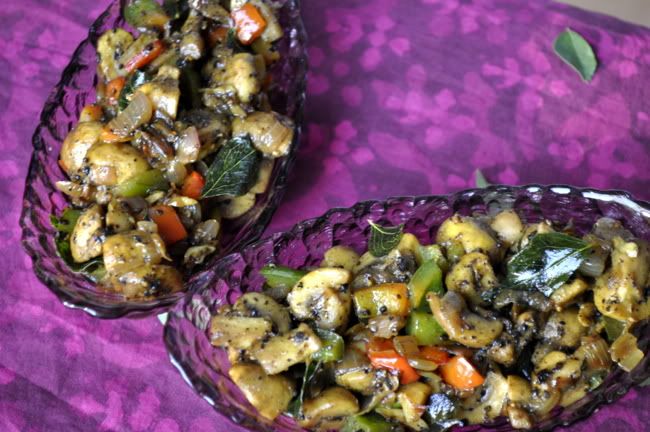
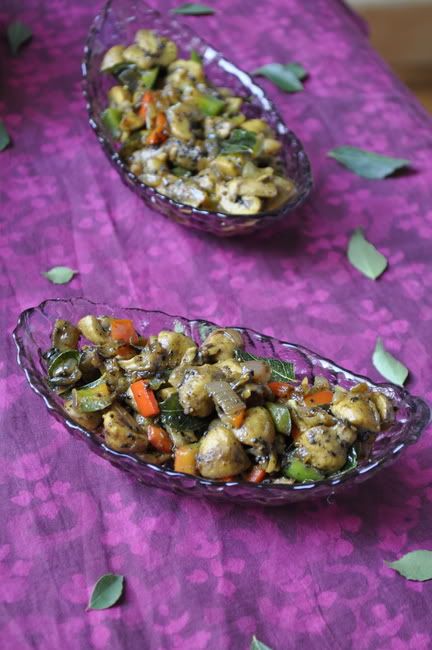
Mushroom Pepper Fry


Photobucket


Photobucket


I love mushrooms in all forms. Some of the other mushroom recipes on my blog are, Black Eyed Peas with Mushrooms, Mushroom Ragout on Garlic Toast. There are very few things that Rj eats without any qualms, which aren't under the category of Non Veg food. Mushrooms happen to be one of them. So i'm always on the look out for an interesting way to cook them. This recipe is spicy n' really hits you with its flavours n' we love having it with a simple daal n' chapathi or rice. I have added cubed capsicum to balance the spice and its a winner. So here you go...


Photobucket


Ingredients :

1. Mushroom : 200 gms (each sliced into 4 pieces)
2. Onion : 1 no
3. Green chilies :2 nos. (slit)
4. Bell Peppers (Capsicum) : 1/2 cup (chopped)
5. Garlic: 1-2nos (crushed)
6. Curry Leaves: as much as you like (the more the better)
7. Pepper Powder - 3 tbsp (use freshly crushed for best results)
8. Oil - 2 tsp
9. Mustard seeds
10. Salt to taste

Method:

Step 1: Heat oil in a wok , add mustard seeds n' curry leaves to do a tadka.

Step 2: Add chopped onions n' garlic and saute till onion turns translucent.

Step 3: Add green chillies and mushrooms. Sprinkle salt on the mushrooms n' allow it to ooze out the water. On high flame allow the water to evaporate while stirring the mushrooms occasionally.

Step 4: Then reduce the flame to sim , add the pepper powder, stir it in n' allow it to cook well. Add the cubed/chopped bell peppers at this stage. (they cook quickly, n' hence I prefer to keep it crunchy i'm adding it at this stage. If you want them well cooked add them along with the mushrooms in step 3.)

Its best served with Daal, Rice or Chapathi. :)...Happy Cooking!


Photobucket


Photobucket


Friday, July 1, 2011

Pickled Mango Chutney/ Uppumanga Chammanthi


Photobucket


Photobucket


I have socially busy day ahead of me and decided to do this post bright n' early! Ever since last Friday, I have been having busy days like these n' I love it. :)....To continue with my Mango Posts, I give you a chutney. I mean, I have had this so many times at home in Kerala with Kanji or just rice and a curry. You know how fashion gurus will tell you, a gorgeous scarf or chic handbag you are holding will make a simple outfit turn into a fashion statement! Well this chutney does that to my food. ;) (lol...yeah even I can see the funny side to that statement.) But really, I do mean it! This does turn a simple meal to a drool worthy finger n' plate licking experience. ;)


Photobucket


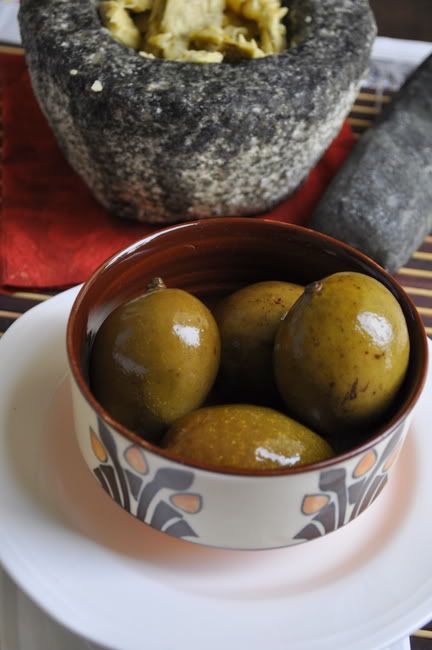
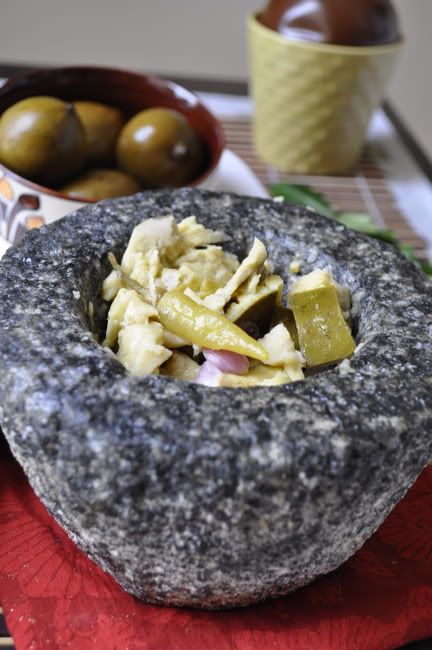
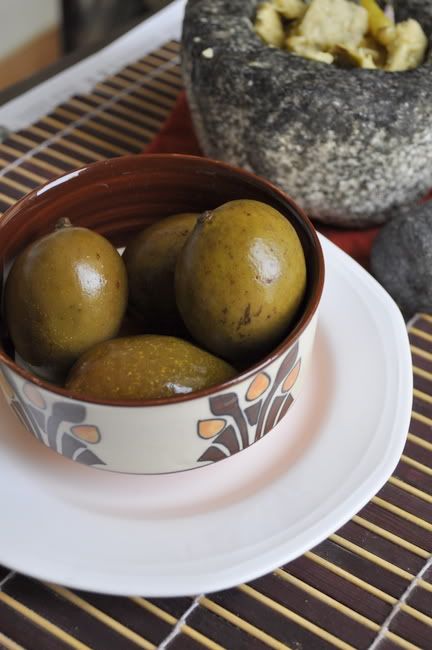
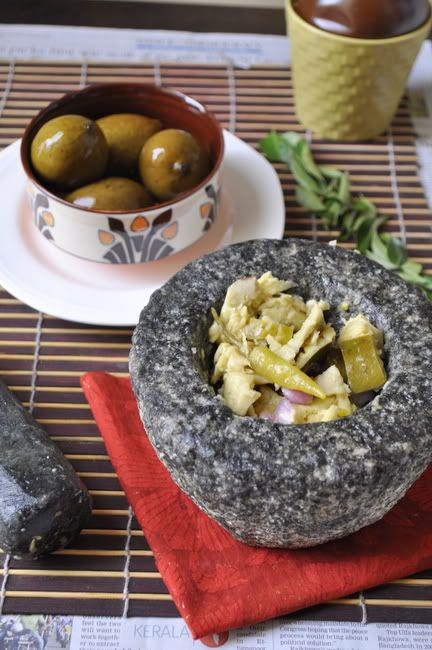
My mom tells me, I started making coconut chutneys on the regular arakallu when I was 6yrs old. (I'm sure she used to help ;) I used to put a stool next to the arakkalu n' gladly make the chutney. The only problem used to be that I would finish half of it as soon as I made it. ;) So then amma started giving me extra coconut for the "just for me" portions of the chutney. You know how small girls in kerala would play "Kanjiyum Curryum" during the holidays with friends n' cousins? In my case, we had a big parambu (backyard) and we would actually make the kanji on a small coal and stone stove and pair it with a chutney n eat it hot. Just the thought is mouthwatering for me. I bought a new pestle and mortar recently and decided to make this. Need I say, I loved the experience? So here is my version of the simple food fashion statement....;)

Ingredients:

1. Pickled Mango (Uppu Manga)- 1 or 2 (cut into small pieces)
2. Small Onions: 6-8nos
3. Green Chili (or pickled chili)- 3-4nos *

* (depending on how spicy you want it to be add more or less. But it tastes best when you make this chutney really spicy. I'm not adding any coconut to this chutney! )

Method

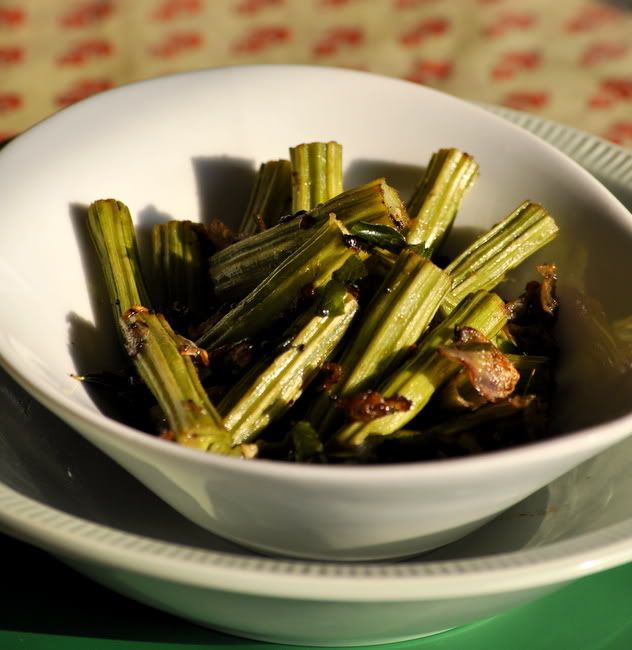
Just grind all the ingredients above into the chutney consistency that you want. I liked biting into these pieces, but some people like to have it in the form of nice paste. So I leave that up to you. You can also use this in the form of a dip for which you obviously need to grind this into a paste. :) Happy Cooking!!!

Photobucket

Saturday, June 25, 2011

Ragi Puttu Upma

I wanted to do this blog post yesterday....but between catching up with friends n facebook n' gtalk n' all that...I didn't get the time to....:(...so I might as well do 2 posts today....


Photobucket


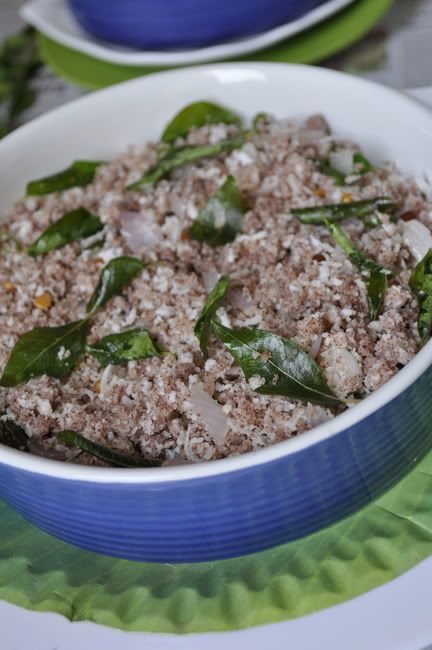
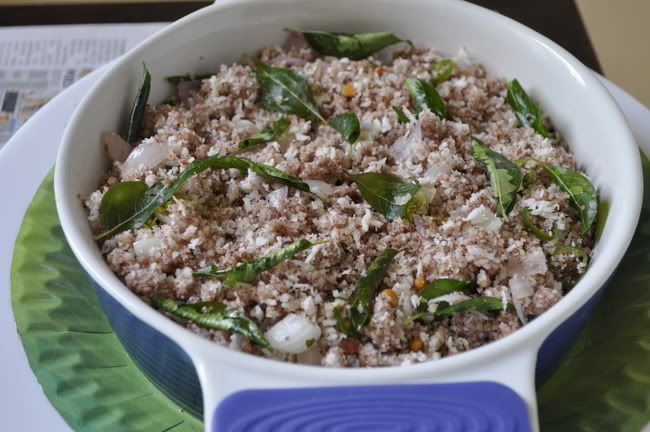
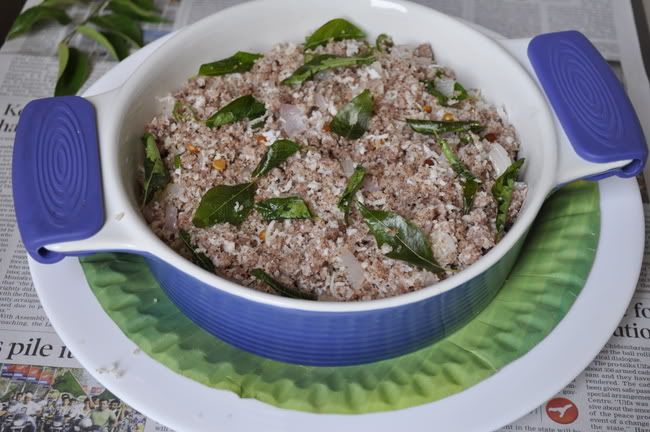
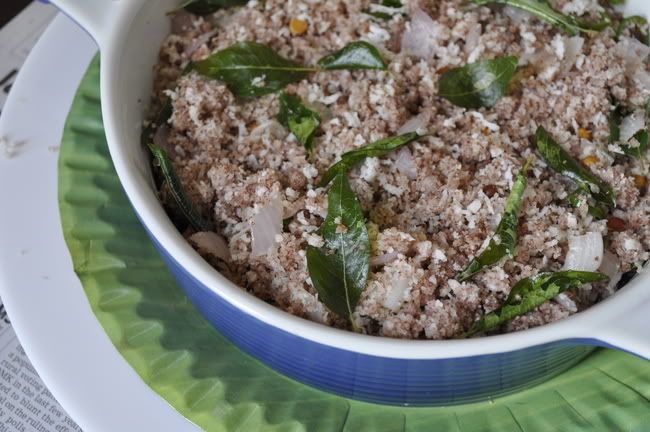
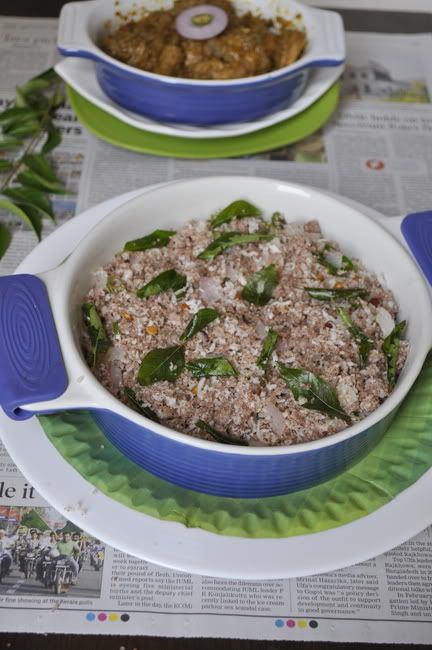
Most mallu families would've made Puttu Upma with leftover puttu as a tea time meal....my mom's taste divine coz she adds left over beef ularthiyathu into it as well n that takes the whole thing a notch higher in my books. I have made this upma without adding Beef and it still tastes nice. I wasn't a big fan of a beef less upma until my aunt, Sandhyachechi, came n' stayed with me. She made this upma with the leftover Puttu from breakfast n' I really loved it...Now I don't wait to have leftover puttu for this anymore. I make puttu just for this upma.


Photobucket


Talking of Upma did you read/hear about New York's celebrated chef, Mumbai-born Floyd Cardoz who made Upma for a contest in NY and won a big ticket prize of $ 100,000 (that roughly around Rs 45 lakhs). The theme? "prepare an item based on food memories. " Imagine that....the simple n' one of the most common south indian dish winning his such a big ticket! I shouldn't make it sound too simple, he did prepare a very exotic version of our common upma with wild mushrooms n' I think Chicken...(not sure about the chicken part). Anyway, apparently after all this hoopla in NY over exotic Upma, restaurants all over the capital here, have been getting orders for extoic upma (more than ever before) from tourists. I'm reading this article in the Hindustan Times, sitting on Rajdhani Express with the worst upma I have ever tasted for breakfast...:(...sad or what????


Photobucket


My upma here is 'oh so simple', but tastes really good. For an added health factor I have started including ragi in our food whenever the recipe permits it. For benefits of Ragi...please check out this page at itsnotmadrasi. You get Ragi Puttu podi/powder in all the stores now. Brands like Eastern, Double Horse, Nirapara etc. So do try them out if you haven't done so already. I'm mentioning a simple way to make puttu too...just for those who haven't had it. So here you go...


Photobucket


Ingredients:

For Puttu
1. Ragi Puttu Podi/Powder: 2 cups
2. Grated Coconut: ½ coconut (at least) more if you like it like me...:)
3. Salt: to taste
4. Water: enough to crumble the mixture. (don't add too much water or you will be left with a dough instead of a crumble.)
For Puttu Upma:
1. Ragi Puttu: 2cups (roughly)
2. Mustard seeds: ¾ tsp
3. Black gram: ¼ tsp (if you don't have this, use the regular tur dal n its still taste great)
4. Onion: ½ cup (chopped)
5. Green chillies: 2 (chopped) or less if you don't like it spicy
6. Ginger: 1 tsp (finely chopped)
7. Curry leaves: 1-2 sprigs
8. Salt (Optional) (as puttu already has salt)
9. Ghee/Clarified butter: 1 tsp

Method:

For the Puttu
I did not use a puttu maker for this, I used the steamer plate/thattu (Dhokla maker plates) in the idli maker instead, coz I was anyways planning to make the upma with the puttu instead of puttu itself. Since I don't do pictorial step by step, please check out this blog for a good way of making traditional Puttu. For the non traditional one, follow my steps here.

Step 1: Add salt n' water to the puttu powder to get the crumble required. Powder the mixture with your hands to form a coarse n soft crumble.

Step 2: Add scraped coconut to the above. I add a generous amount, coz i love the taste.

Step 3: Heat water in the idli maker, once the water boils, place the steamer plate above the water n' fill it with the above mixture. Steam it until cooked well. (roughly 5-10mins or less) The puttu is ready.

For the Upma

Step 1: In a kadai/ wok, add the ghee and do the tadka with mustard seeds, Dal n' add the curry leaves.

Step 2: Add the chopped ginger, fry it a little, add the chopped onion n' green chilies to this. Fry it well.

Step 3: Add the cooked puttu mix into this n' stir well. Adjust the salt if required. Sprinkle in a little water, if you think the puttu is not soft enough. And viola! its ready....


Photobucket


Serve it with some Kaddala Curry/ Chole or even a spicy meat curry (I served it with my Chicken Chettinad) and it needn't be something you serve only at tea time. Make it a meal. :) Happy Cooking!!!

Friday, May 27, 2011

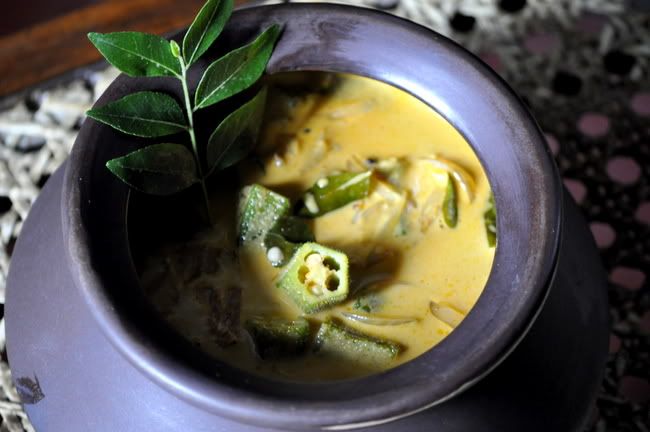
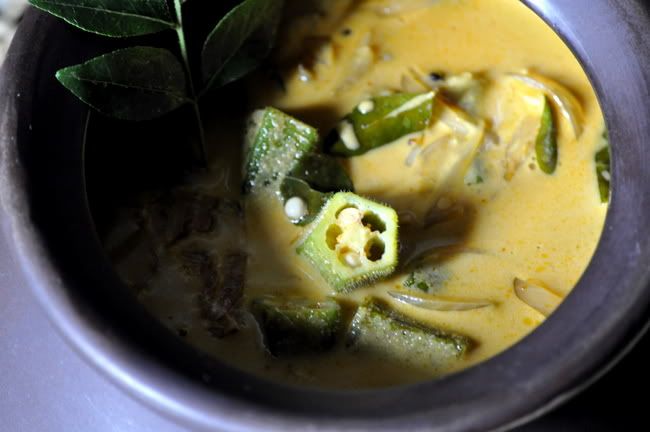
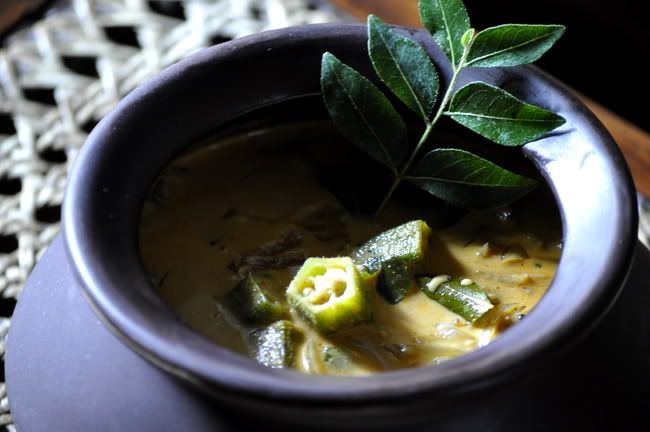
Vendakkai Curry/ Okra in Coconut Milk Gravy

Today I was looking for a snap I had clicked of my niece a while back n' I found 3 dishes that I had not posted up here yet :). (This is dish no. 3 ). All these snaps were taken a little after we moved to Bangalore. I'm guessing, I just didn't have the time to post them up then. I'm gonna post all three today, just coz I already have too many dishes I had made this week which i'm yet to post. These recipes are good, but the snaps lack imagination, so don't let that fool you.


Photobucket


This dish was made at home in Kottayam, during one of my visits. I didn't make it, I just helped :). I suggested to amma saying that let me make this a guest post by her. She just point blank refused, saying if she were to do a guest post, might as well do something a little more complicated. lol. So the next time I go home, I'm gonna click some snaps of her complicated dishes...:)..This curry is really simple, easy to make n' very light. Amma actually takes the first extract n' the second extract from the coconut where ever she needs to use coconut milk. I guess store bought coconut milk, might not give this light texture. So here you go...


Photobucket


Ingredients:

1. Okra/ Vendekkai: 10nos (each cut into 3 pieces)
2. Onion: 1no small (sliced)
3. Green Chili: 1nos (sliced)
4. Ginger Garlic Paste: 1tsp
5. Chili Powder: 1/2 tsp
6. Turmeric Powder: 1/4tsp
7. Coriander Powder: 1 tsp
8. Coconut Milk: from half a coconut (first n' second extract)*
9. Salt: as per taste
10. Curry Leaves: 1sprig
11. Oil: 1tsp
12. Water- 1/4 cup
13. Vinegar- 1/2tsp
14. Black Pepper: enough to sprinkle on top

* if using store bought coconut milk, then 3/4 to a cup should do.

Method:

Step 1: Stir fry the okra pieces in a little oil for 3-4mins. Set it aside.

Step 2: Add a little more oil into the same kadai, add mustard seeds n' curry leaves n' allow it to splutter.

Step 3: Add the chopped onion, green chili n' ginger garlic paste to the above. Allow it to cook till the onions turn pink.

Step 4: Add the powders, turmeric, red chili n' coriander powder to the above. Add salt. Mix it well for the masala to cook properly.

Step 5: Add the pan fried okra into the above, stir it well with the masala.

Step 6: Pour some water n' cook it covered for 2-3mins (depending on how crunchy you want it to be)

Step 7: Add the second extract of the coconut milk first n' add the vinegar at this stage. (if you don't want to use vinegar, you can use a little lime juice or one chopped tomato.) Add the first extract of coconut milk to this. If you are using store bought coconut milk, do this in one step.

Step 8: Sprinkle some black pepper powder or garam masala on top n' its ready to serve.

This is best served with some hot rice. :) Happy Cooking!!!


Photobucket

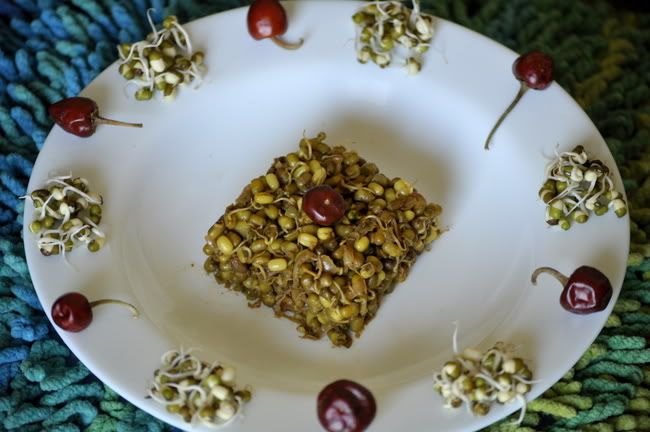
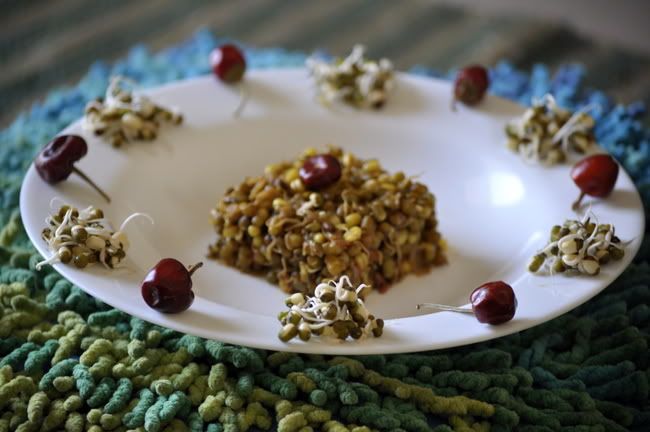
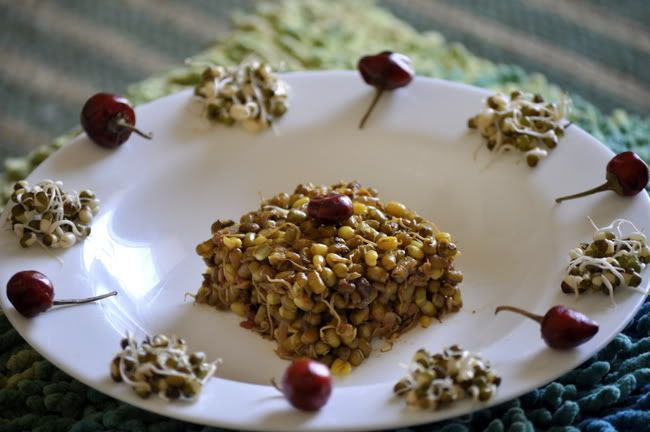
Sprouts Masala (Dry)

Today I was looking for a snap I had clicked of my niece a while back n' I found 3 dishes that I had not posted up here yet :). (This is dish no. 2 ). All these snaps were taken a little after we moved to Bangalore. I'm guessing, I just didn't have the time to post them up then. I'm gonna post all three today, just coz I already have too many dishes I had made this week which i'm yet to post. These recipes are good, but the snaps lack imagination, so don't let that fool you.

Photobucket


I love having sprouts, you must have figured that out from the salad recipes, like Chicken Aioli Salad n' my Spinach Salad with Alfalfa Sprouts n' Feta Cheese here. We normally eat it fresh in a salad n' since that taste great, I never thought of trying anything else. But my mom in law makes this really nice dry masala with this n' Rj is a big fan. Besides, who wouldn't like making a dish that their mom in law makes to perfection? lol. Ever since I made this the first time, we have had this as a side dish for chapathi almost every other week. Try it, its really nice... So here you go.

Photobucket


Ingredients:

1. Sprouts: 2 cup (I use Moong sprouts)
2. Onion - 1no (chopped)
3. Garlic: 3-4nos (crushed)
4. Tomato: 1no (small) chopped
5. Salt: as per taste
6. Cumin Seeds - 1/2 tsp
7.Chili Powder - 1 tsp or 1/2tsp (as per taste)
8.Turmeric powder - 1/4tsp or a little more
9.Garam Masala - a pinch or 2
10.Oil

Method:

Step 1: Heat oil in a kadai/wok. Add the cumin seeds n' let is splutter.

Step 2: Add the chopped onion n' crushed garlic to this. Fry it till the onions become translucent.

Step 3: Add the turmeric powder n' chili powder to the above. Stir it, allowing the masala to cook.

Step 4: Add the chopped tomatoes to this. Let it mix well in the masala. Add salt.

Step 5: Add the sprouts to this n' mix it well with the masala. Sprinkle some water on top n' cover it to cook it for 8-10mins. If it too dry stir it once in a while so that it doesn't stick to the bottom of the pan.

Step 6: Stir the above, adjust the salt, sprinkle some garam masala on top. Mix it well n' its ready to serve.

If you would like to give this dish a little pungent taste, sprinkle some lemon juice over it before serving. Happy Cooking!!!

Photobucket

Drumstick Stir Fry/ Murungakai Ularthiyathu

Today I was looking for a snap I had clicked of my niece a while back n' I found 3 dishes that I had not posted up here yet :). (This is dish No.1 for today). All these snaps were taken a little after we moved to Bangalore. I'm guessing, I just didn't have the time to post them up then. I'm gonna post all three today, just coz I already have too many dishes I had made this week which i'm yet to post. These recipes are good, but the snaps lack imagination, so don't let that fool you.

Photobucket

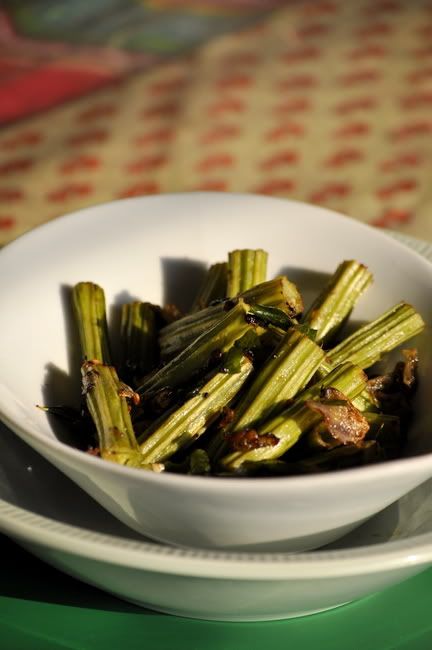
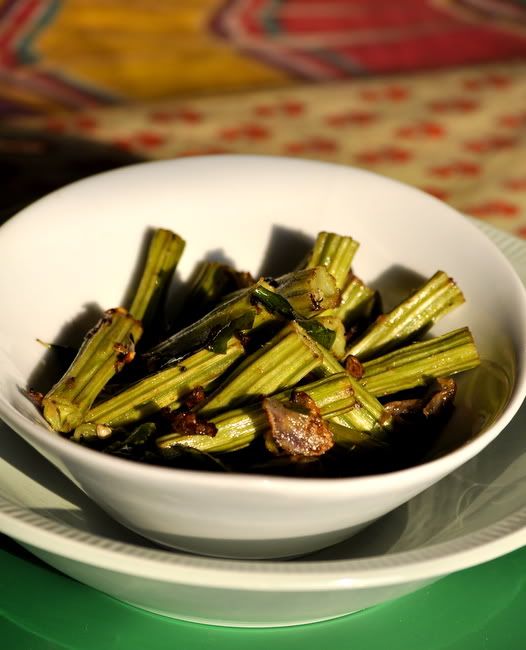
I love drumsticks, growing up we had 2-3trees at home n' I used to never like them. Especially coz amma used to make so many things with drumsticks n' its leaves. :(...But ever since I start cooking, a Sambar for me is just incomplete without drumsticks in them. My best friend, Sandhra got married recently n' her mom in law (a great cook again) lives with them. Just as well, as Sandhra doesn't enjoy cooking at all these days...:) But I think its just a phase,(havevn't we had a time like this?) she will find her groove again soon. So anyways, her mom in law made this for her one day n' she was raving about it to me. So I just had to try it n' it turned out really well. Only thing is eating this is a very hands on job. :) So here you go.

Photobucket


Ingredients:

1. Drumsticks: 2nos (cut like in the snaps)
2. Water: 1/2cup
3. Salt: as per taste
4. Green Chili: 1no (chopped)
5. Onion: 1/2 an onion (chopped)
6. Oil: 2-3tsp
7. Mustard: 1/2 tsp
8. Curry Leaves: 1 sprig

Method:

Step 1: Boil the drumstick piece in water mixed with salt. Once the drumsticks are cooked, let the water evaporate. (add a little more an 1/2 a cup of water if required to cook them well).

Step 2: In a kadai/wok, heat oil, splutter the mustard seeds n' curry leaves.

Step 3: Add the chopped Onion n' Green Chili. Let it brown.

Step 4: Add the cooked drumsticks to this n' stir fry it well.

This is ready to serve with some Mooru n' Hot rice. :) Happy Cooking!!!

Photobucket

Thursday, May 26, 2011

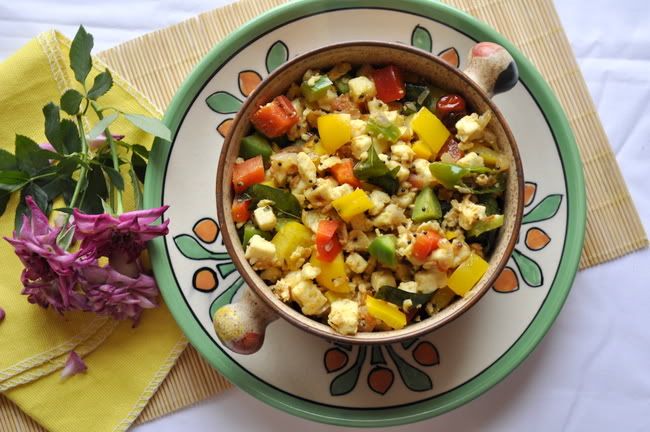
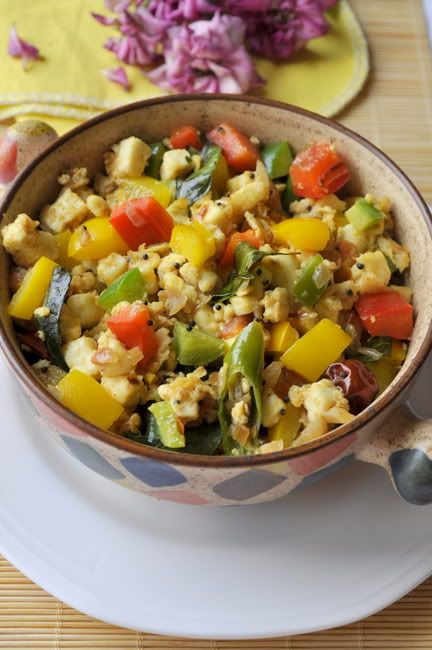
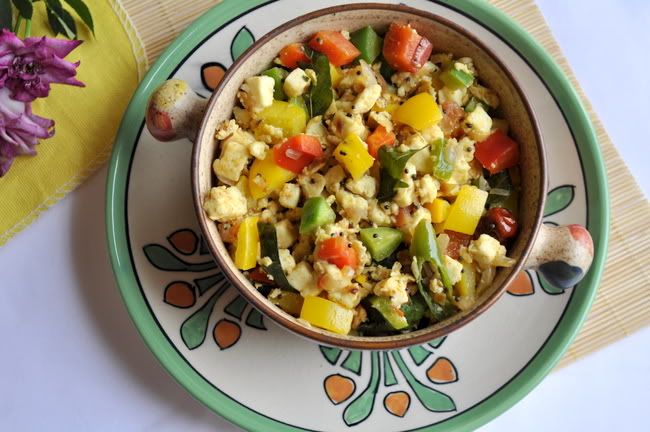
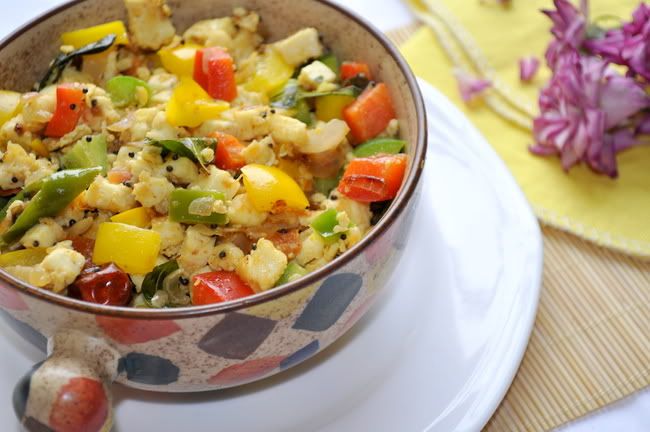
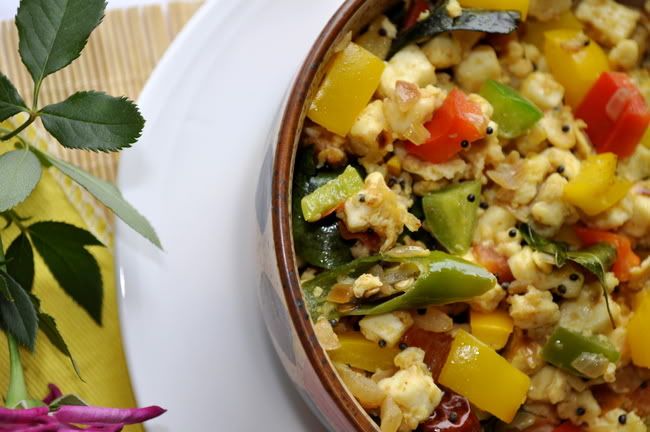
Paneer Bhurji/ Scrambled Cottage Cheese

Photobucket

My amma came n' stayed with me for a week n' my relationship with milk completely changed. :)...does that sound weird? But really, I couldn't make you understand what i'm talking about any other way. Now, I make curd, fresh cream, butter n' ghee at home. Well not all in one day...but you get the picture. I never knew it could be this easy. Cooking for 2, the only thing out of this which has a lot of demand on a daily basis is curd n' love how well the curd sets. I could give all the curd companies out there a run for their money...lol.

Photobucket

I'm digressing, what I wanted to say was, previous to amma's visit the only milk product I used to make at home is Paneer. But the major problem with it was I could never cut perfect cubes/squares etc out of my home made paneer. Coz they won't hold a shape like that. I would hang it in a muslin cloth n' end result is always a large ball liked shape that would love to crumble. So I had stopped making paneer at home for my dishes like Punjabi Paneer Makhani, Hara Bhara Paneer n' Paneer Tikka Masala. But my homemade paneer especailly coz it loves to crumble is best for Paneer Bhurji. On a day when you are not in the mood for elaborate cooking, this is just perfect with Chapathis. By the way I follow the Vahrehvah Chef Sanjay Thumma's instructions to make paneer at home.

Photobucket


This dish is by far the only thing I make without a written recipe. I searched online n didn't find any recipe I liked n' thought to myself, how difficult can making something like this without a recipe be. So here you go, my version of a Paneer Bhurji. :)

Photobucket

Ingredients:

1. Paneer: 200gms (soft paneer) crumbled.
2. Onion: 1no (small) chopped
3. Garlic: 4-5nos (chopped)
4. Tomato: 1no (deseeded) chopped
5. Greenchili- 2nos
6. Capsicum/ Bell Pepper- 1no (deseeded n' cubed)*
7. Egg: 1no (optional)
8. Turmeric Powder: a pinch
9. Chili Powder: 1/2tsp
10. Garam Masala: a pinch or 2
11. Oil
12. Mustard seeds- 1/2tsp
13. Curry Leaves
14. Salt: as per taste

* I have used yellow, red n' green capsicums just to get that burst of color, you can just use any one color n' it would still taste nice.

Method:

Step 1. Heat a oil in pan, add mustard seeds n' curry leaves. Let it splutter.

Step 2. Add chopped onions, garlic n' green chili and leave it to cook. (2-3mins on medium flame)

Step 3. Add turmeric powder, chili powder n salt, mix it well. Allow it to cook well.

Step 4. Add the chopped tomatoes to this.

Step 5. If you are adding eggs, scramble it in another pan n' add scrambled eggs to the above mixture. (I like the texture better this way, but up to you if you want to add the beaten egg directly to the above mixture, you can.)

Step 6. Add the chopped paneer to the above n' mix it well. Leave it to cook for a while. (Ensuring that the paneer does not harden).

Step 7. Add the cubed/chopped capsicum to the above. Mix it well n' allow it to cook for another 3-4mins.

Step 8: Check for salt n' add more if you need it. Sprinkle some garam masala on top n' its ready...:)

Happy Cooking!!!

Photobucket

Tuesday, May 24, 2011

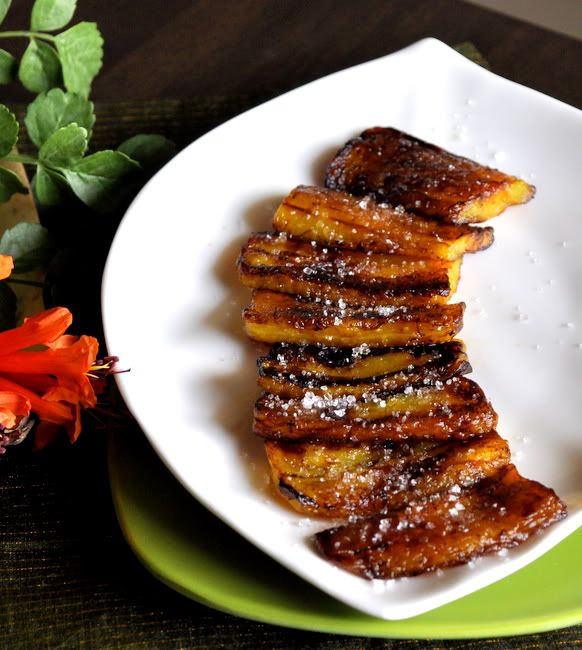
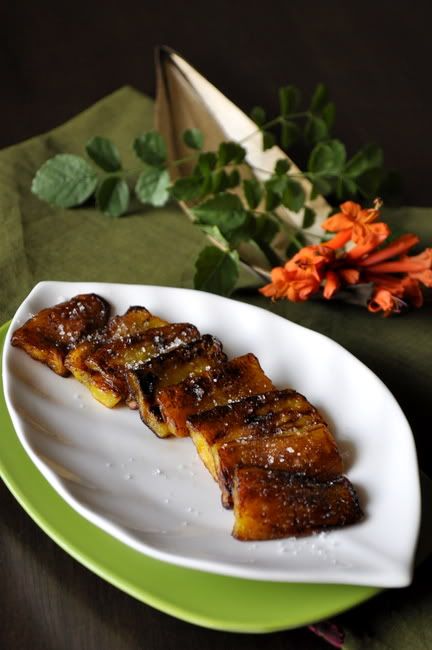
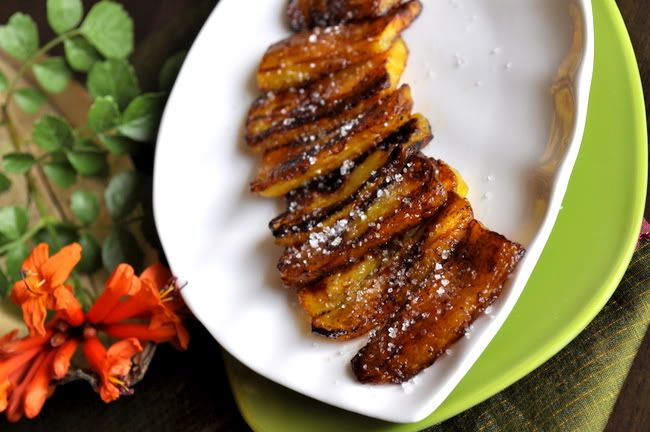
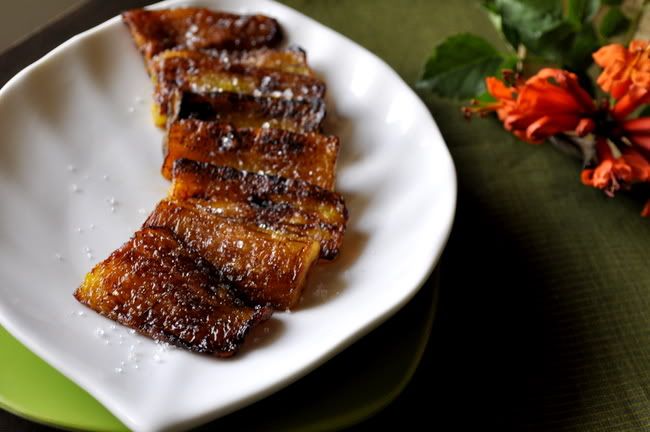
Kottayam Banana Ghee Roast...;) vs. French Caramalised Bananas

Photobucket

This was my appa's (father's) favourite evening snack. I remember amma making this n' keeping his share aside as soon as she makes it coz otherwise I would have finished it in no time. So I guess I liked this as much as appa did. I miss my father terribly, so many decisions would've have been taken out of my hands, making life so much simpler. He loved taking over. :) He was intelligent, complex, shrewd n' vulnerable if that is possible. Irrespective of having been a terrible teenager n a rebel, every single day I hope he knew/knows how much I loved him.


Photobucket

Coming back to this recipe, Rj doesn't enjoy this at all n' I'm secretly pleased with that, coz I still love it just as much n' don't mind not sharing it with anyone. I'm not sure this can be called Banana Ghee Roast, coz you just doing a quick shallow fry than roast, but the name sounded so suggestive I couldn't resist using it. :) I must say I haven't made evening snacks since ages, that custom is just not followed in my home. I guess mainly coz when I was working, we both came back home only after 7.30-8.00pm almost everyday. So anyway, I saw the French Chef, Manu Fiedel, making Caramalised Banana Fry on TV n' just couldn't resist making the Kerala/Kottayam version of it. I will mention his version in a little more detail below. :) So here you go.


Photobucket


Ingredients:
1. Banana- 1no (preferably overripe ones)
2. Ghee- 1-2tsp (or more depending on how much juice you want in the end)

3. Sugar- for sprinkling

Method:

Step 1: Cut the whole banana into 2 or 3 depending on how long you want the slices to be. Slice each piece vertically (as seen in the snaps).

Step 2: Heat ghee in a frying pan, arrange the slices of banana without overcrowding it and shallow fry them.

Step 3: Arrange them in a plate n' sprinkle it with some sugar. And its ready. Serve it with some ice cream if you like to create a Dessert version of the snack.


Photobucket

The last time I went home, Amma made these for me using home grown bananas n' I swear the bananas were so sweet, I didn't have to add any sugar. Now for Chef Manu Fiedel's Version.

He used Butter instead of Ghee, used a lot more than my version. He added brown sugar into the hot butter first and then added the bananas whole instead of slicing it. To make the whole thing look a lot more exciting, he even flambé-d them in the pan ;) and served it hot with some vanilla ice cream. I must say it looked divine. But my craving for the home version, made me try that instead. Happy Cooking!!

I would like to thank Asha from A Tasty Challenge for the award she passed on to me.
Her blog not only has some really yummy recipes, but she had actually taken on a challenge to finish 262 recipes in 365days n' completed the same this May. I'm in awe, kudos to you Asha.
Related Posts with Thumbnails