Pages

Friday, July 22, 2011

Pickled Jalapeños n' a note on 'The BBQ Story', Bangalore

Photobucket
Photobucket


I have to do a blog post today....yeah, HAVE TO. You must have all realized that i'm being rather slow with my blog post updates these days....well let me assure you its not lack of cooking. I have been really busy with guests/friends pouring in (what with me not working anymore more n' all, I'm the only one with loads of time on my hands) n' on top of that I'm just not inspired to take photographs of what I have been cooking. Don't know why, i'm hoping its just a phase n' it will soon be over. I have heard some bad news yesterday which has left me feeling gutted. Well mopping up is over n' I have decided to do a blog post today.

Photobucket


I have mentioned Chef Sarabjeet in my Hara Bhara Paneer Tikka post a while back. I met him at this Weber grill workshop here in Bangalore. Now he n' his friends are working together on projects/workshops to make food enthu people like you n' me, convert that enthu into some serious skills in the kitchen. They call it 'The BBQ Story' n' "Learn, Grill n' Chill" is there motto. :) So far, they have done 3 workshops, missed out on the 2 of them, but I ensured I could take part in the 3rd one n' I enjoyed it a lot. Some of you who have added me on Facebook must have seen some of the snaps here. The menu that day was Banglore Muslim Dum Biryani, Chicken Malai Tikka, Grilled Ghost Kheema Tikka, Grilled Fish Wrapped in Plaintain leaf with a Coriander marinade.. The Biryani was to die for, the recipe was simple, but the tips n' pointers the Chefs there tell us while cooking are irreplaceable. All in all, it was just an awesome Sunday for me. Please read more about them here n' follow them for more regular updates. They are coming up with BBQ Chapter 4 on 24th July...the details are as under.

Chef Sarabjeet says...."Learn to make,Country style Grilled Steaks and Home made fresh Sausages, and lots more...!!!!!!
When..????-24th July, Sunday
But what time..?? 10am onwards
Now..Where..?? @ Yolk Studio Kormangala
How to book..? Call sarabjeet on 9916580506 or text Sushil on 9880340900
and to drink??......:) Wines from Nine Hills..!!!!!..come learn, grill and chill..!"

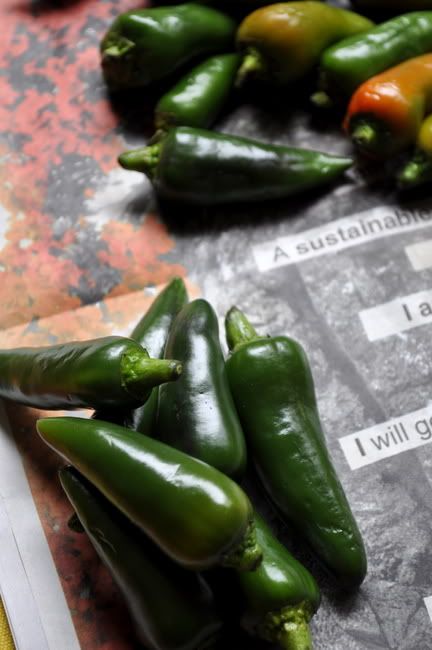
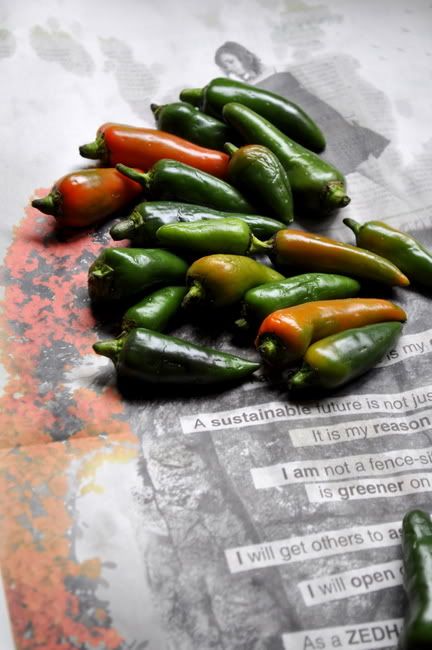
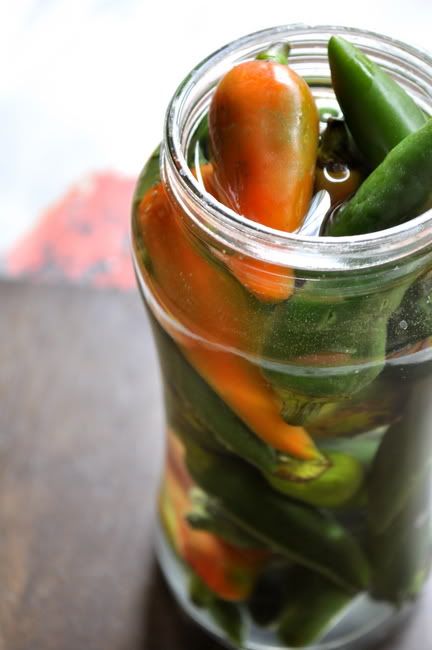
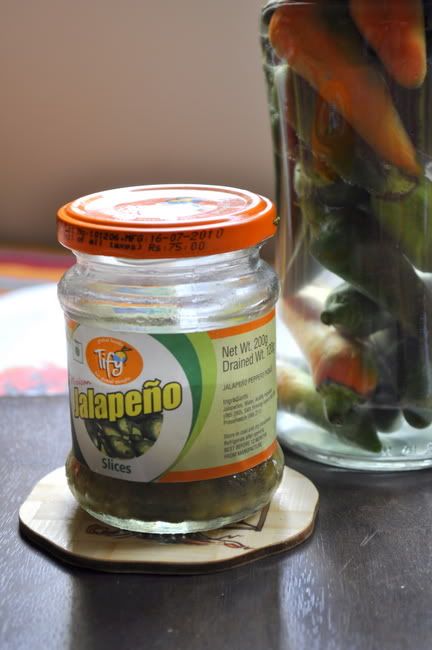
Coming to today's recipe, its a simple recipe for some fuss free Pickled Jalapeno Peppers. I love pickled jalapenos, if I see them listed as an ingredient while ordering a Pizza, i'm almost always biased towards that pizza. Buying them in Bangalore is an expensive option. I buy a 200gms of sliced jalapeno pickle for Rs.75/-. So when I saw a packet of fresh Jalapenos here, I just had to buy them. Having no clue how to pickle them didn't help. Saw lot of takes on how to do some fancy way of pickling them. But I decided to stick with this simple version. The recipe is adapted from here.
Photobucket


Ingredients:

1. Fresh Jalapeños: 250gms (whole or sliced)
2. Salt: 1tbsp
3. White Vinegar: 1cup
4. Water: 1 cup

Method:

Step 1: Warm the jar you want to put the pickle in. (I kept it in the MW for 1.30 seconds)

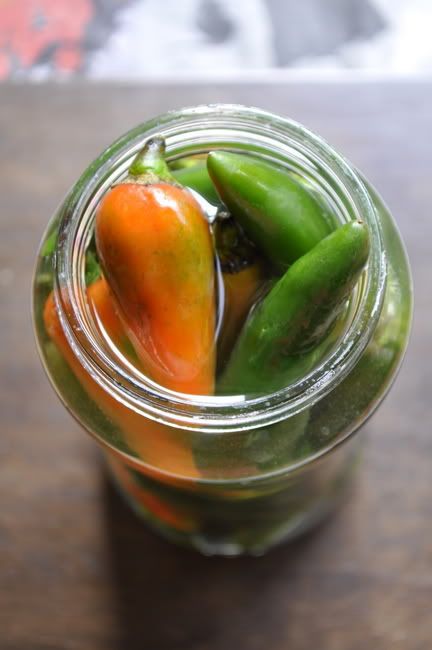
Step 2: Pack the jalapeños in the warm glass jar. Since I used whole Jalapeños Peppers, I prodded them with a serrated knife to ensure that they soak up the brine.

Step 3: In a saucepan, add the rest of the ingredients and simmer for about 5 minutes. (I just boiled the mixture in MW for 2mins).

Step 4: Pour hot brine over top. Bubble your jars thoroughly by tapping them firmly on the countertop and using a wooden chopstick to release any stubborn bubbles. Wipe rims, apply lids and bands.

For a crunchy bite, you can start nibbling on them within a few hours. As for softer texture, let this sit for 4-5 days. They say you can keep it refrigerated for upto two months.
They taste awesome in a sandwich n I plan to take some for my mom who is a huge fan of Sandwiches n' pickled veggies. Happy Cooking!!! :)
Photobucket

Tuesday, July 19, 2011

Vanilla Cupcakes (Oh! I love them.....)

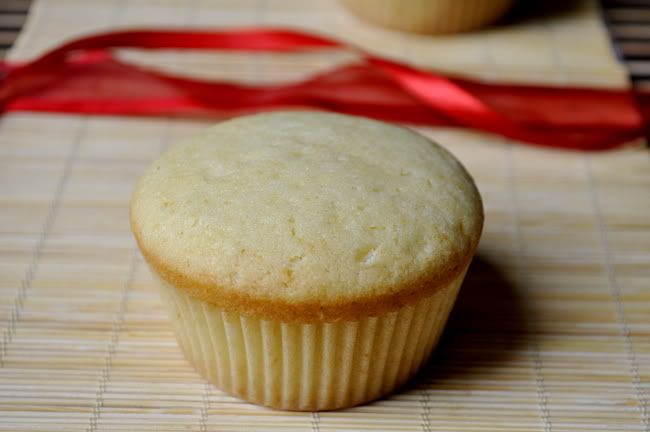
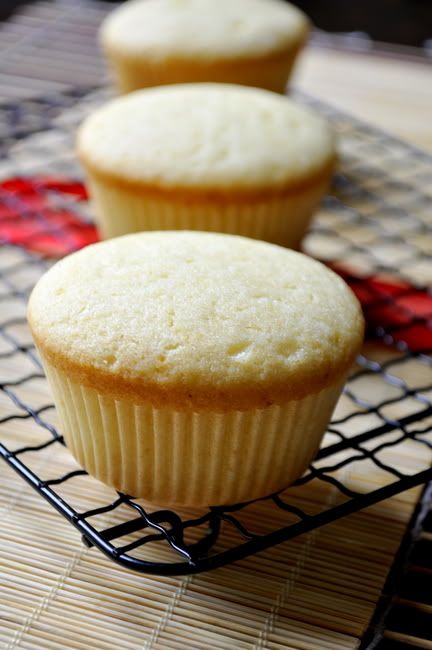
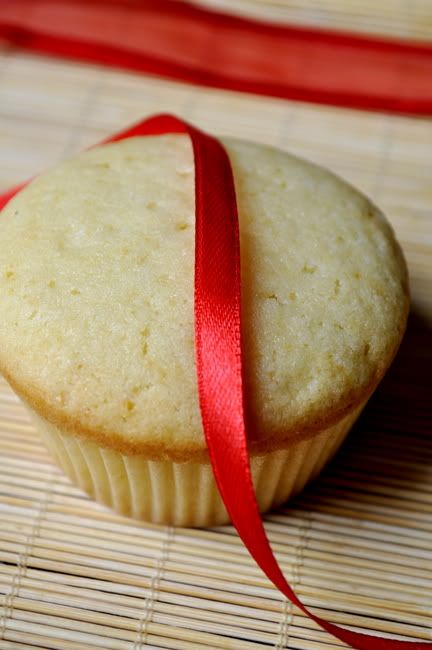
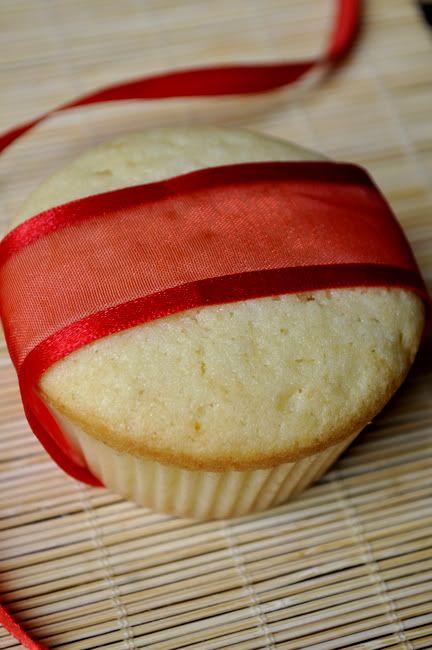
After my happy experiences with the Blueberry n Banana Muffins and the Mangoes n' Figs Muffins, I decided to learn cupcakes. Both Rj n' me, we love vanilla cupcakes. Ok, I stand corrected, he loves it more than me. We used to buy them often before, but he turned sugar conscious a while ago n' we stopped buying them. I baked these babies n' he is begging for more on most days. Ever since I tried them the first time, I have made them twice again after that. That's how good this recipe is.

Photobucket


Photobucket


The recipe source? Ria's Collection. If you check her blog, on the homepage it self, you will see these oh! so pretty vanilla cupcakes she had baked recently with a friend. I had visited her blog to check out another recipe, but I saw these n' fell in love instantly. I just had to try them, n' the cupcakes comes out perfectly. The texture is just great. I didn't use the chocolate frosting, that will go well with this, just coz we like them plain. The lesson I learned from it? Find a reliable source for good simple baking recipes n' I can get over my fear and have good results. I haven't changed the recipe much, I have just reduced the amount of salt by half from Ria's recipe. With this I learnt the simple n' yummy basic cupcakes. My sincere thank you to Ria for sharing such a nice recipe.

Photobucket


Ingredients:
(Makes about 16 cupcakes if you are using big cupcake liners)
1. All purpose flour: 2 cups
2. Baking powder: 2 tsp
3. Salt: 1/4 tsp (omit if you are using salted butter)
4. Castor sugar: 1 cup
5. Unsalted butter: 1/2 cup (room temperature)
6. Eggs: 2nos
7. Milk: 1/2 cup (room temperature)
8. Vanilla extract: 2 tsp

Method:

Step 1: Pre-heat the oven to 180C/350F. Keep the cupcake trays also ready by placing the cupcake liners in them.

Step 2: Sift the dry ingredients (Flour, Baking Powder and Salt) together, if possible, thrice.

Step 3: Cream the butter and sugar for 3 mins.Add in the eggs one by one and beat it will for 1 minute after each addition. (I'm guessing the time is mentioned coz we need to get the consistency right, I loved that bit of precision in the recipe. Great for an amateur like me.)

Step 4: Next with the motor running,add the sifted flour and milk alternately starting and ending with flour.By now the batter should be light and fluffy.

Step 5: Spoon it into the cupcake liners, about 2/3 rd's full, which will be about 2 1/2 tbsp.

Step 6: Bake for 20-25 mins or till the top is lightly golden brown in colour and a toothpick inserted into the center comes out clean. (it took mine only about 20mins)

Step 7: Remove from the tin immediately and let it cool completely before frosting (if you opt to frost it).


Photobucket


Photobucket


Honestly, I loved this recipe n' it helps me produce great results. In a span of 3 weeks, I have made this three times. Having guests at home helps. :) Happy cooking!!! or better still Happy Baking!!! :)

Mangoes Figs n' Walnut Muffins

I have been missing from here since a while now. Just having been having some issues with time management. Have been having people over at home n that has kept me off the Internet n' in the kitchen or out shopping with them. :)....I wonder how many awesome recipe updates I must have missed out on of my blogger friends out here. Well, I hope to catch up on that in couple of days...:) After my big proclamation about learning to bake in my kitchen itself. I have been kinda doing well in the baking department. I'm guessing it has something to do with the great recipes I have found. I'm gonna do 2 small posts today.


Photobucket


Photobucket


I'm baking something again today n' I'm looking forward to it already. The first post are these muffins. The Blueberry Banana Muffins I had done had come out so well I wanted to try some more. Just to make sure it wasn't fluke n' that I did have a great recipe n' some amount of skill to get it right. Why this combinations? I'm not too sure, I just went with things I like n' I had with me in the kitchen. With this second batch also coming out really well, I'm comfortable with my muffin recipe n' would substitute the fruits with anything in season n' know that they will turn out well. I have used the exact recipe from the Blueberry Muffins recipe here. The only change is I have used fresh ripe mangoes, along with some chopped figs n' crushed walnuts for sprinkling on top instead of Blueberry n' Banana. With this I salute my Muffin Recipe. I made 15 muffins using this recipe.

Ingredients:

1. All Purpose Flour (Maida): 3 cups minus 2tbsp
2. Baking soda: 1tsp
3. Baking powder:2 tsps
4. Heavy pinch of salt
5. Caster sugar: 1 cup
6. Vegetable oil: 1/2 cup (or half a cup of melted butter) *
7. Egg: 1no
8. Yogurt (plain n unflavored) : 1 generous cup (throw in extra if you want)
9. Mangoes(ripe n fresh):1 and a half cup
10. Figs (chopped): 1/2 cup
10. Vanilla Extract/Essence : 1tbsp
11. Softened Butter, for muffin tins (I used the cupcake liners so didn't need this)
12. Caster sugar (optional): for sprinkling on top.
13. Walnuts (crushed): to sprinkle on top

(* to my horror I saw that I didn't have enough Vegetable Oil with me. So I used melted butter instead. They say that while mixing the wet ingredients as mentioned in Step 3 below, one should take care while adding the hot butter to eggs. What I did was I added butter n' then added yogurt before adding the eggs n' I was safe.) This is what I had done for the blueberry recipe n' I did the same this time around too.

Method:

Step 1: Preheat oven to 180° C.

Step 2: In a large bowl sift flour, baking soda, baking powder, and salt. Set aside.

Step 3: In another large bowl whisk together sugar, oil, vanilla essence, egg, and yogurt.

Step 4: Add the dry ingredients (I sifted it in little by little) and stirring to a count of 10.

Step 5:Add the mangoes and the chopped figs, to mixture and stir 3 times. (At this point I got a little worried, coz the batter looked really different from anything I have ever baked. But I decided to proceed as instructed.)

Step 6: Add mixture to well-buttered muffin pans or like I mentioned the Cupcake liners. Sprinkle some walnuts on top and press down lightly. Sprinkle a little sugar over top. (Brown sugar can be used instead.)

Step 7: Bake 20 to 25 minutes and allow to cool completely.


Photobucket

Photobucket

Saturday, July 9, 2011

Curd Rice/ Mosarnna


Photobucket

Photobucket

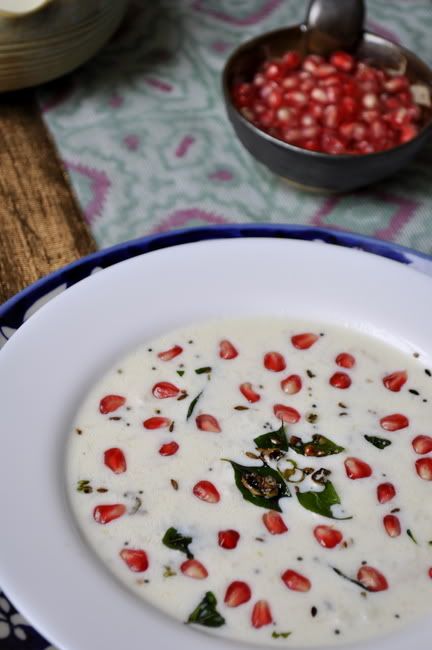
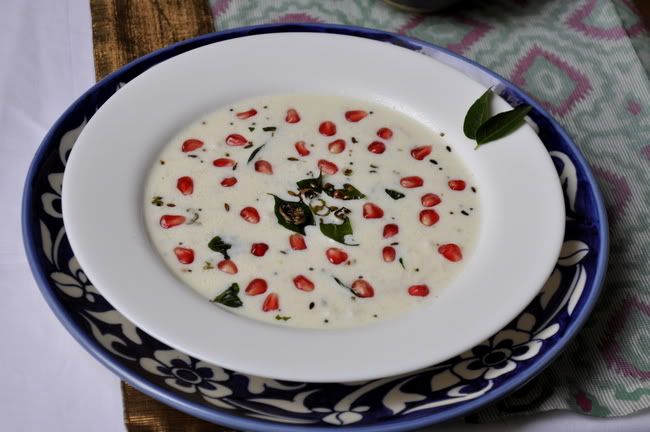
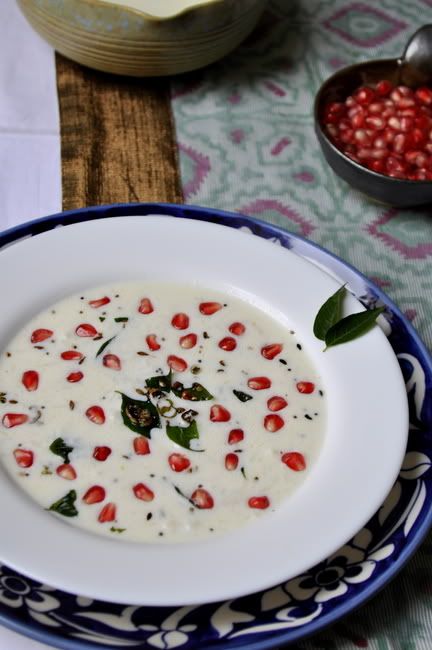
Curd Rice for me is like a healing food. Perfect to have when your tummy is troubling you. For the 2yrs that I was in Sales in Bangalore, I faithfully had this for lunch almost everyday. Not really cause I had tummy ache everyday :). But coz Adigas in Bangalore serves a really yummy curd rice with a mixed vegetable spicy pickle. I would say, like a Biryani gets served for weddings in Kerala (as if its a must), in Karnataka, Curd Rice is considered special and gets served for all occasions. Almost like a meal is incomplete if Curd Rice doesn't get served. This Curd rice recipe is a South Indian rice recipe. It is easy and quick and simple dish to make especially if the cooked rice is ready.Generally it is served at the end of the meal.

Curd rice is aka Dahi Chawal(Hindi) Thairu Sadam(Tamil) and Mosarnna(Kannada). I wish I could stay n' chat more. But I have a really busy weekend ahead of me and I should really be going. Wish you all a Happy Weekend. The recipe is as under.


Photobucket


Ingredients:

1. Cooked rice : 2 cups
2. Plain curd : 3/4 cup (not too sour) (also feel free to be generous n' add more curd)
3. Milk : 1/2 cup
4. Green chilies : 1 or 2
5. Ginger paste : 1/4 teaspoon.
6. Salt - to taste

For Seasoning:

1. Oil - 1 tbsp
2. Tur Dal - 1/2 tsp
3. Massor Dal - 1/2 tsp
4. Mustard seeds - 1/4 tsp
5. Cumin seeds - 1/2 tsp
6. Asafoetida - a pinch
7. Curry Leaves

Method:

Step 1: Heat oil in a pan. Add mustard seeds and cumin seeds. When they stop crackling add Dal (I used masoor n' tur, you can use any dal, i'm sure). Fry it, but ensure it does not get burned.

Step 2: Add asafoetida, chopped chilies and curry leaves. Fry for 5 seconds.

Step 3: Take off the pan from the stove and let it cool a little.

Step 4: Mix the cooked rice, curd, milk and salt.

Step 5: Add the seasoning into the rice mixture and mix well.

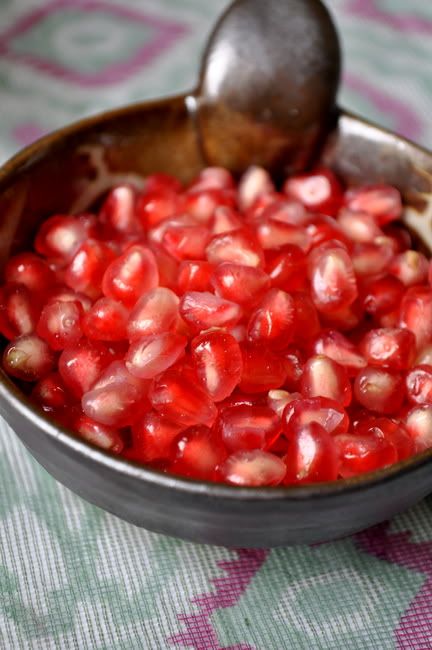
It is ready to serve. Serve it as a meal by itself or with lime pickle or mango pickle.The only thing to remember, really, is mix Curd Rice just before serving. Once the curd rice is mixed it should be eaten immediately or it can get sour, so if you are not planning to eat it immediately, put it in the fridge. Rice also becomes thick after some time. So a little milk may be added again at the time of serving. Adding Pomegranate Seeds, fried cashews, fresh grapes etc into the curd rice before serving it is a practice that I love. :) Happy Cooking!!


Photobucket

Friday, July 8, 2011

Grilled Carrots with Rosemary


Photobucket


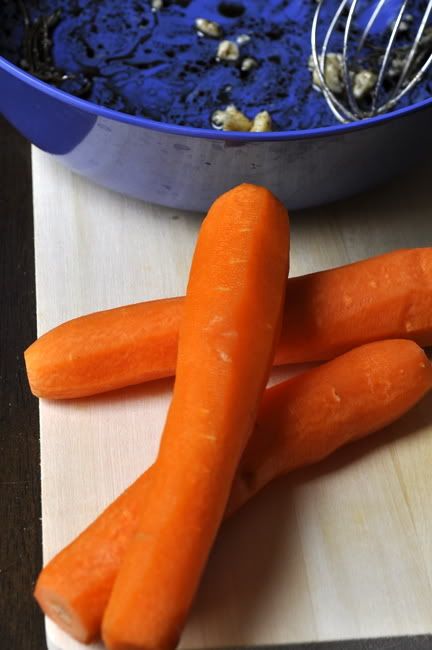
I like carrots, they are sweet but tastes great in a savory dish. They are crunchy, look so pretty n' is packed with healthy nutrients especially Vitamin A, K n' C. (I learnt all that from the Active Foods workshop I recently attended). So anyways, Rj doesn't like it when I cook carrots, (for that matter most veggies) so I clean them n' give them in his salad n' he enjoys that. So I bought some extra yesterday. But I forgot to give him any last night n today he has some office thing so didn't need lunch n' won't be back before late in the night.

So I was looking at an option to make a juice. But then I came across this recipe for grilled carrots n' I just fell in love. I have been hoarding posts for later. But with this one I just couldn't wait to publish it. I totally love this recipe n' the kitchen smelt so good after grilling them with rosemary. You just have to try this. Our awesome friend, Jeffrey, who was with us in Bahrain, had given me this grill pan (I had even used this in my Hara Bhara Paneer Tikka recipe too) and its just so useful. He wanted me to show off this pan here n' I thought this recipe is perfect for it. lol.... I love it n have used it to make this. The recipe is adapted from here. So here you go.


Photobucket


Photobucket


Photobucket


Ingredients:

1. Carrots: 3nos
2. Butter: 2-3 tspn (room temperature) (yeah I was a little generous, I used salted Amul Butter)
3. Extra Virgin Olive Oil: 2tsp
4. Balsamic Vinegar: 1 tbsp
5. Rosemary: 1 tsp (chopped) fresh
6. Salt: if required
7. Fresh Black Pepper: as per taste (optional)

Method:

Step 1: Heat grill pan to high flame.

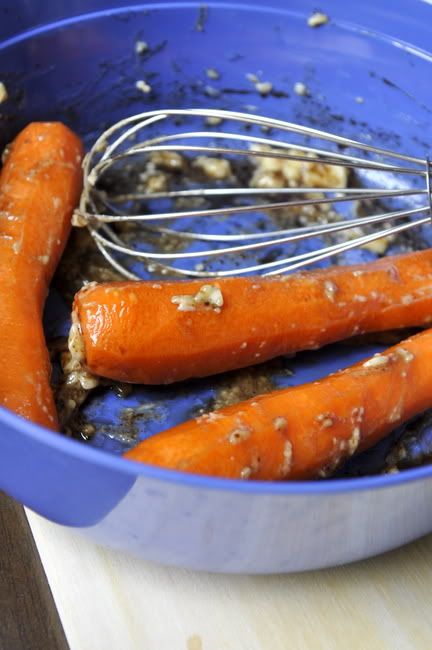
Step 2: Whisk together butter, olive oil, vinegar, and rosemary.

Step 3: I left the whole carrots in the marinade for couple of mins and then arranged them on the grill and brushed them lightly with the marinade occasionally. (all this should be once you have changed the flame to low. (keep them in the warm area first before shifting them to the hot area on the grill.)

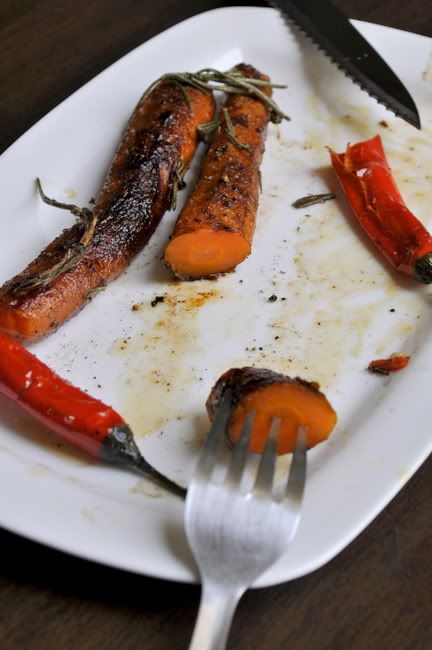
Step 4: Grill for approximately 20 minutes, turning occasionally to prevent extreme charring.
When carrots are softer, but still slightly firm, remove from heat.

Step 5: Add to a serving platter and drizzle with the remaining marinade. I had to add a little more salt n' some freshly ground black pepper to give it an extra kick (but that is totally optional). I even grilled 2 red chilies along with this in the last 5mins n' ate it along with this. Try it try it...its good...Happy Cooking!!!


Photobucket


Photobucket

Thursday, July 7, 2011

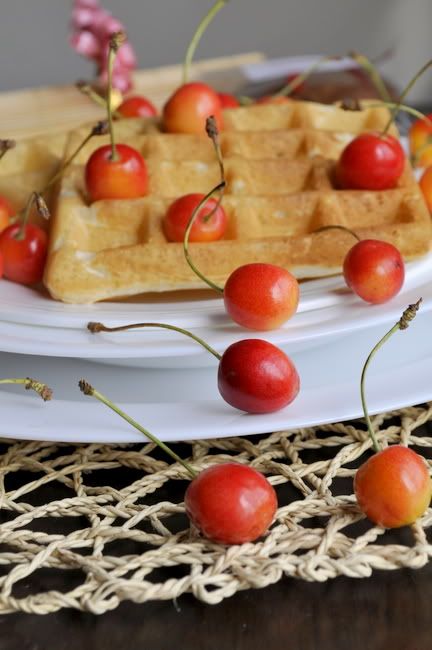
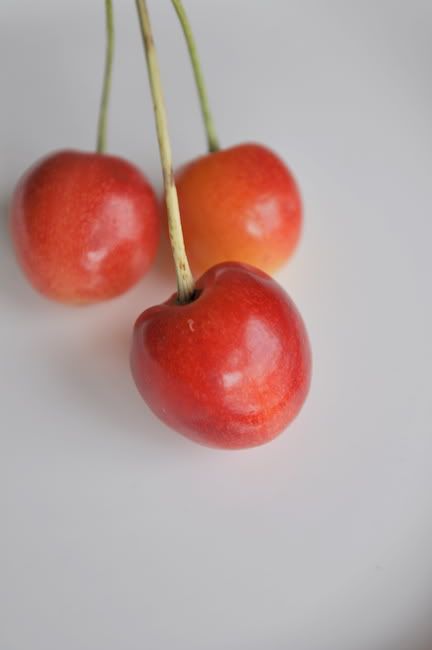
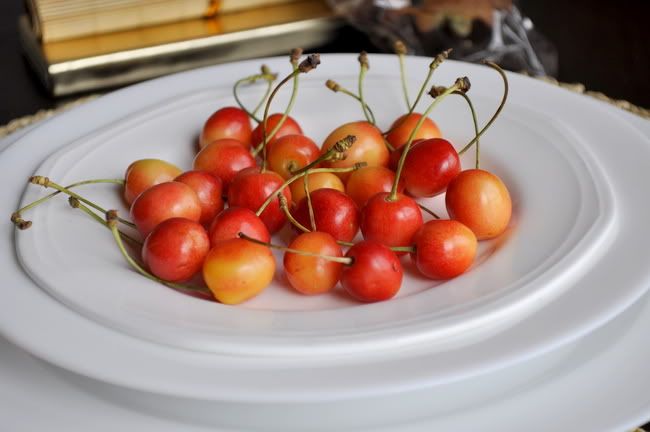
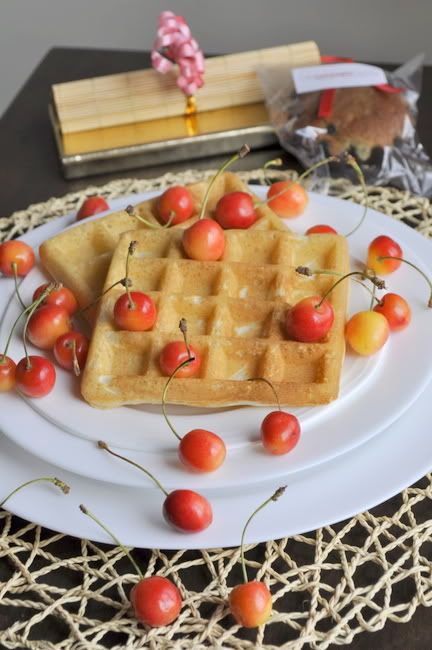
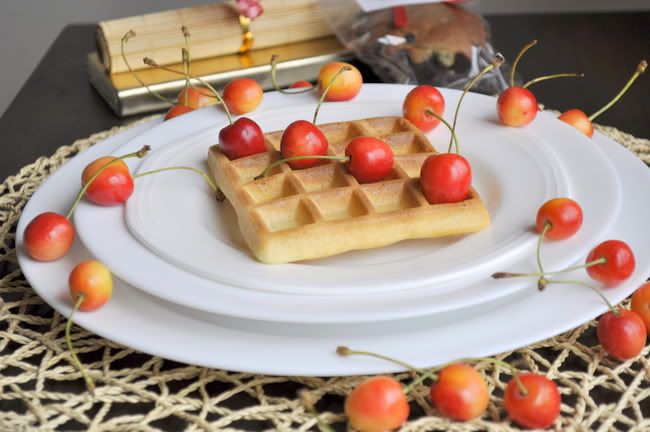
Waffles n' Cherry


Photobucket

Photobucket

A waffle is a batter or a dough-based cake cooked in a waffle iron patterned to give a distinctive and characteristic shape. Waffles can be eaten plain (especially the thinner kinds) or sprinkled with powdered sugar. Ice cream cones are also a type of waffles or wafers. It is said that, there are many variations based on the type and shape of the iron and the recipes used.

I have had my waffle iron for a while now n' hadn't tried anything with it. One morning I woke up all inspired n' decided to try it out. Rj was fast asleep just the way I wanted him to be. He doesn't enjoy waffles or pancakes n' I encouraged myself to have some 'me' time for breakfast...:)

I used the simplest recipe I could find, so here you go.


Photobucket

Ingredients:

1. All Purpose Flour: 2 cups
2. Baking powder: 3 tsp
3. Caster Sugar: 1 tbsp
4. Salt: 1/4tsp (less or more as per your taste)
5. Eggs: 3nos (separated)
6. Milk: 1 and a 1/2 cups
7. Butter (melted) : 5 tbsps
8. Vanilla Essence: 1tsp (optional)

Method:

Step 1: Mix and sift dry ingredients (flour, baking powder, salt and sugar).

Step 2: Combine beaten egg yolks, milk and the butter and add the same to the dry ingredients, beating until smooth.

Step 3: Beat the egg whites until stiff. Fold the same into the above mixture.

Step 4: Pour batter into each section of a hot waffle iron. Cook waffles until crispy and browned.

Serve it with your choice of fruits or honey or maple syrup or even ice cream. Happy Cooking!!!


Photobucket

Photobucket

Monday, July 4, 2011

Kerala Mango Pickle or Curry/ Kadumanga Achar


Photobucket

Photobucket


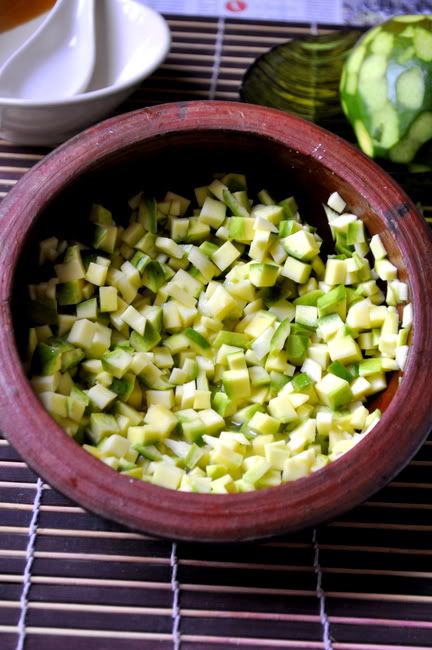
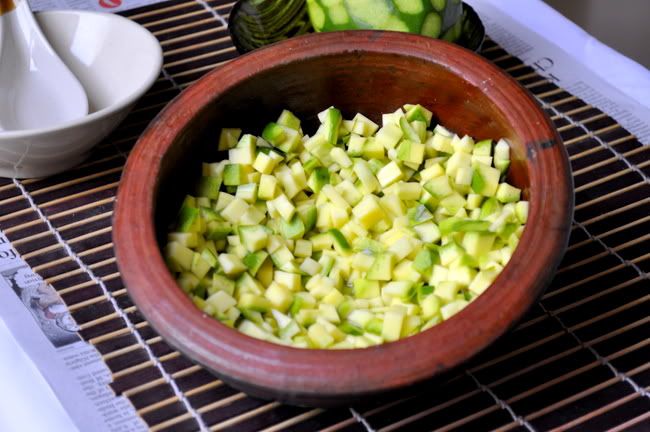
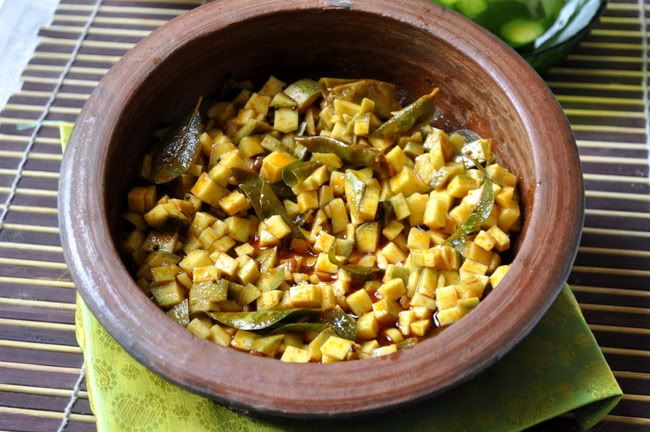
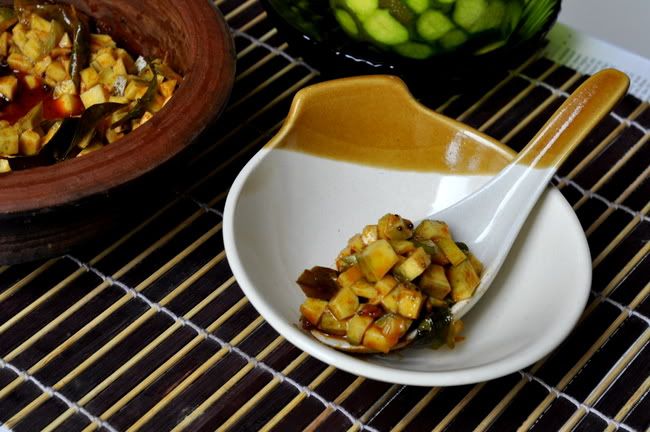
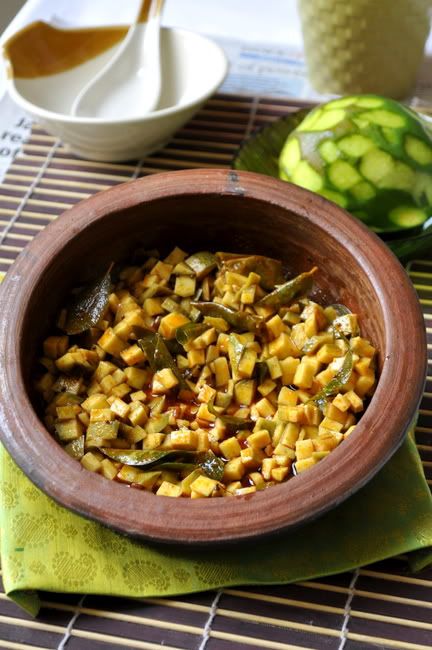
This is my third post on Mangoes this month, I had gotten distracted with my baking mission n' couldn't complete the hattrick as planned. :) This pickle, even though it comes under the category of a pickle is often mistaken n' eaten as a Mango Curry. Kanji, the most popular comfort food of a Malayali, is most often accompanied by this pickle. I love it so much, this is one of the first things I wanted to make the moment I got a kitchen to myself. The only thing is, I love eating it even without anything with it. I can just eat this in a bowl n' be happy about it. I have consciously stopped doing this, but the inane desire is to do just that, the moment I see this pickle is still there.

I can eat pickle with anything n' everything, that's how much I love it. But other than this, I don't make any other pickle at home. The white lime pickle, the no oil red lime pickle, the black gooseberry pickle, the mango with mustard seeds pickle etc that we keep a stock of at home are all supplied by my mom. This pickle has less shelf life than the other pickles. The recipe? Here you go. :)


Photobucket


Ingredients:

1. Raw Mango: 2nos medium (chopped or rather cubed into really small pieces)
2. Chilly powder : 2 tbsp (or as per taste)
3. Turmeric powder : 1/2 tsp
4. Salt : As reqd
5. Gingelly oil : 5tbsp (best for pickles)
6. Fenugreek(Uluva) powder : 1 tsp
7. Asafoetida(Kaayam) powder : 1/2 tsp
8. Vinegar : 3tbsp ( or more depending on the taste)
9. Curry leaves : 1 bunch
10. Mustard seeds : 1 tsp
11. Dry Red Chili: 1-2nos

Method:

Step 1: Add salt to the mango piece n' keep it aside for atleast an hour or 2.

Step 2: In a kadai/wok, heat the oil. Add mustard seeds, fenugreek seeds, dry red chilies n' curry leave. Allow it to splutter.

Step 3: Remove the kadai from the stove and add the red chili powder, turmeric powder n' asafoetida powder. (You are doing it off the stove cause we need to take care not to burn the powders used.)

Step 4: Mix in the mangoes into the above mixture. Allow it to coat well. Add vinegar. Check the salt n' add more if required. Keep it aside overnight or at least for 4-5hrs to allow it to absorb the spices.

If you ask me, its best served with everything. ;) But traditionally, its served with Kanji or Rice n' Curry. Happy Cooking!!! :)


Photobucket

Photobucket

Related Posts with Thumbnails